
Custom Tile Showers
Shower Renovation
In Port Alberni.
Custom tiled showers built from the substrate up by David Bennett, with Schluter waterproofing behind every wall and floor. Based in Port Alberni and working across Vancouver Island.
Built From The Substrate Up
The Tile Is The Part You See.
A tiled shower has to handle water, movement and daily use for years. The waterproofing, the slope to the drain and the preparation behind the tile are what decide whether it lasts. Bennett & Sons is a Schluter-Certified Installer and uses Schluter waterproofing products and installation methods.
- Shower walls, floors and curbs
- Schluter membrane and board waterproofing systems
- Seams, corners and penetrations sealed as part of the system
- Shower floors sloped to the drain
- Niches and feature walls planned before the tile goes up
What Is Under The Tile
Five Layers, One Of Them Visible.
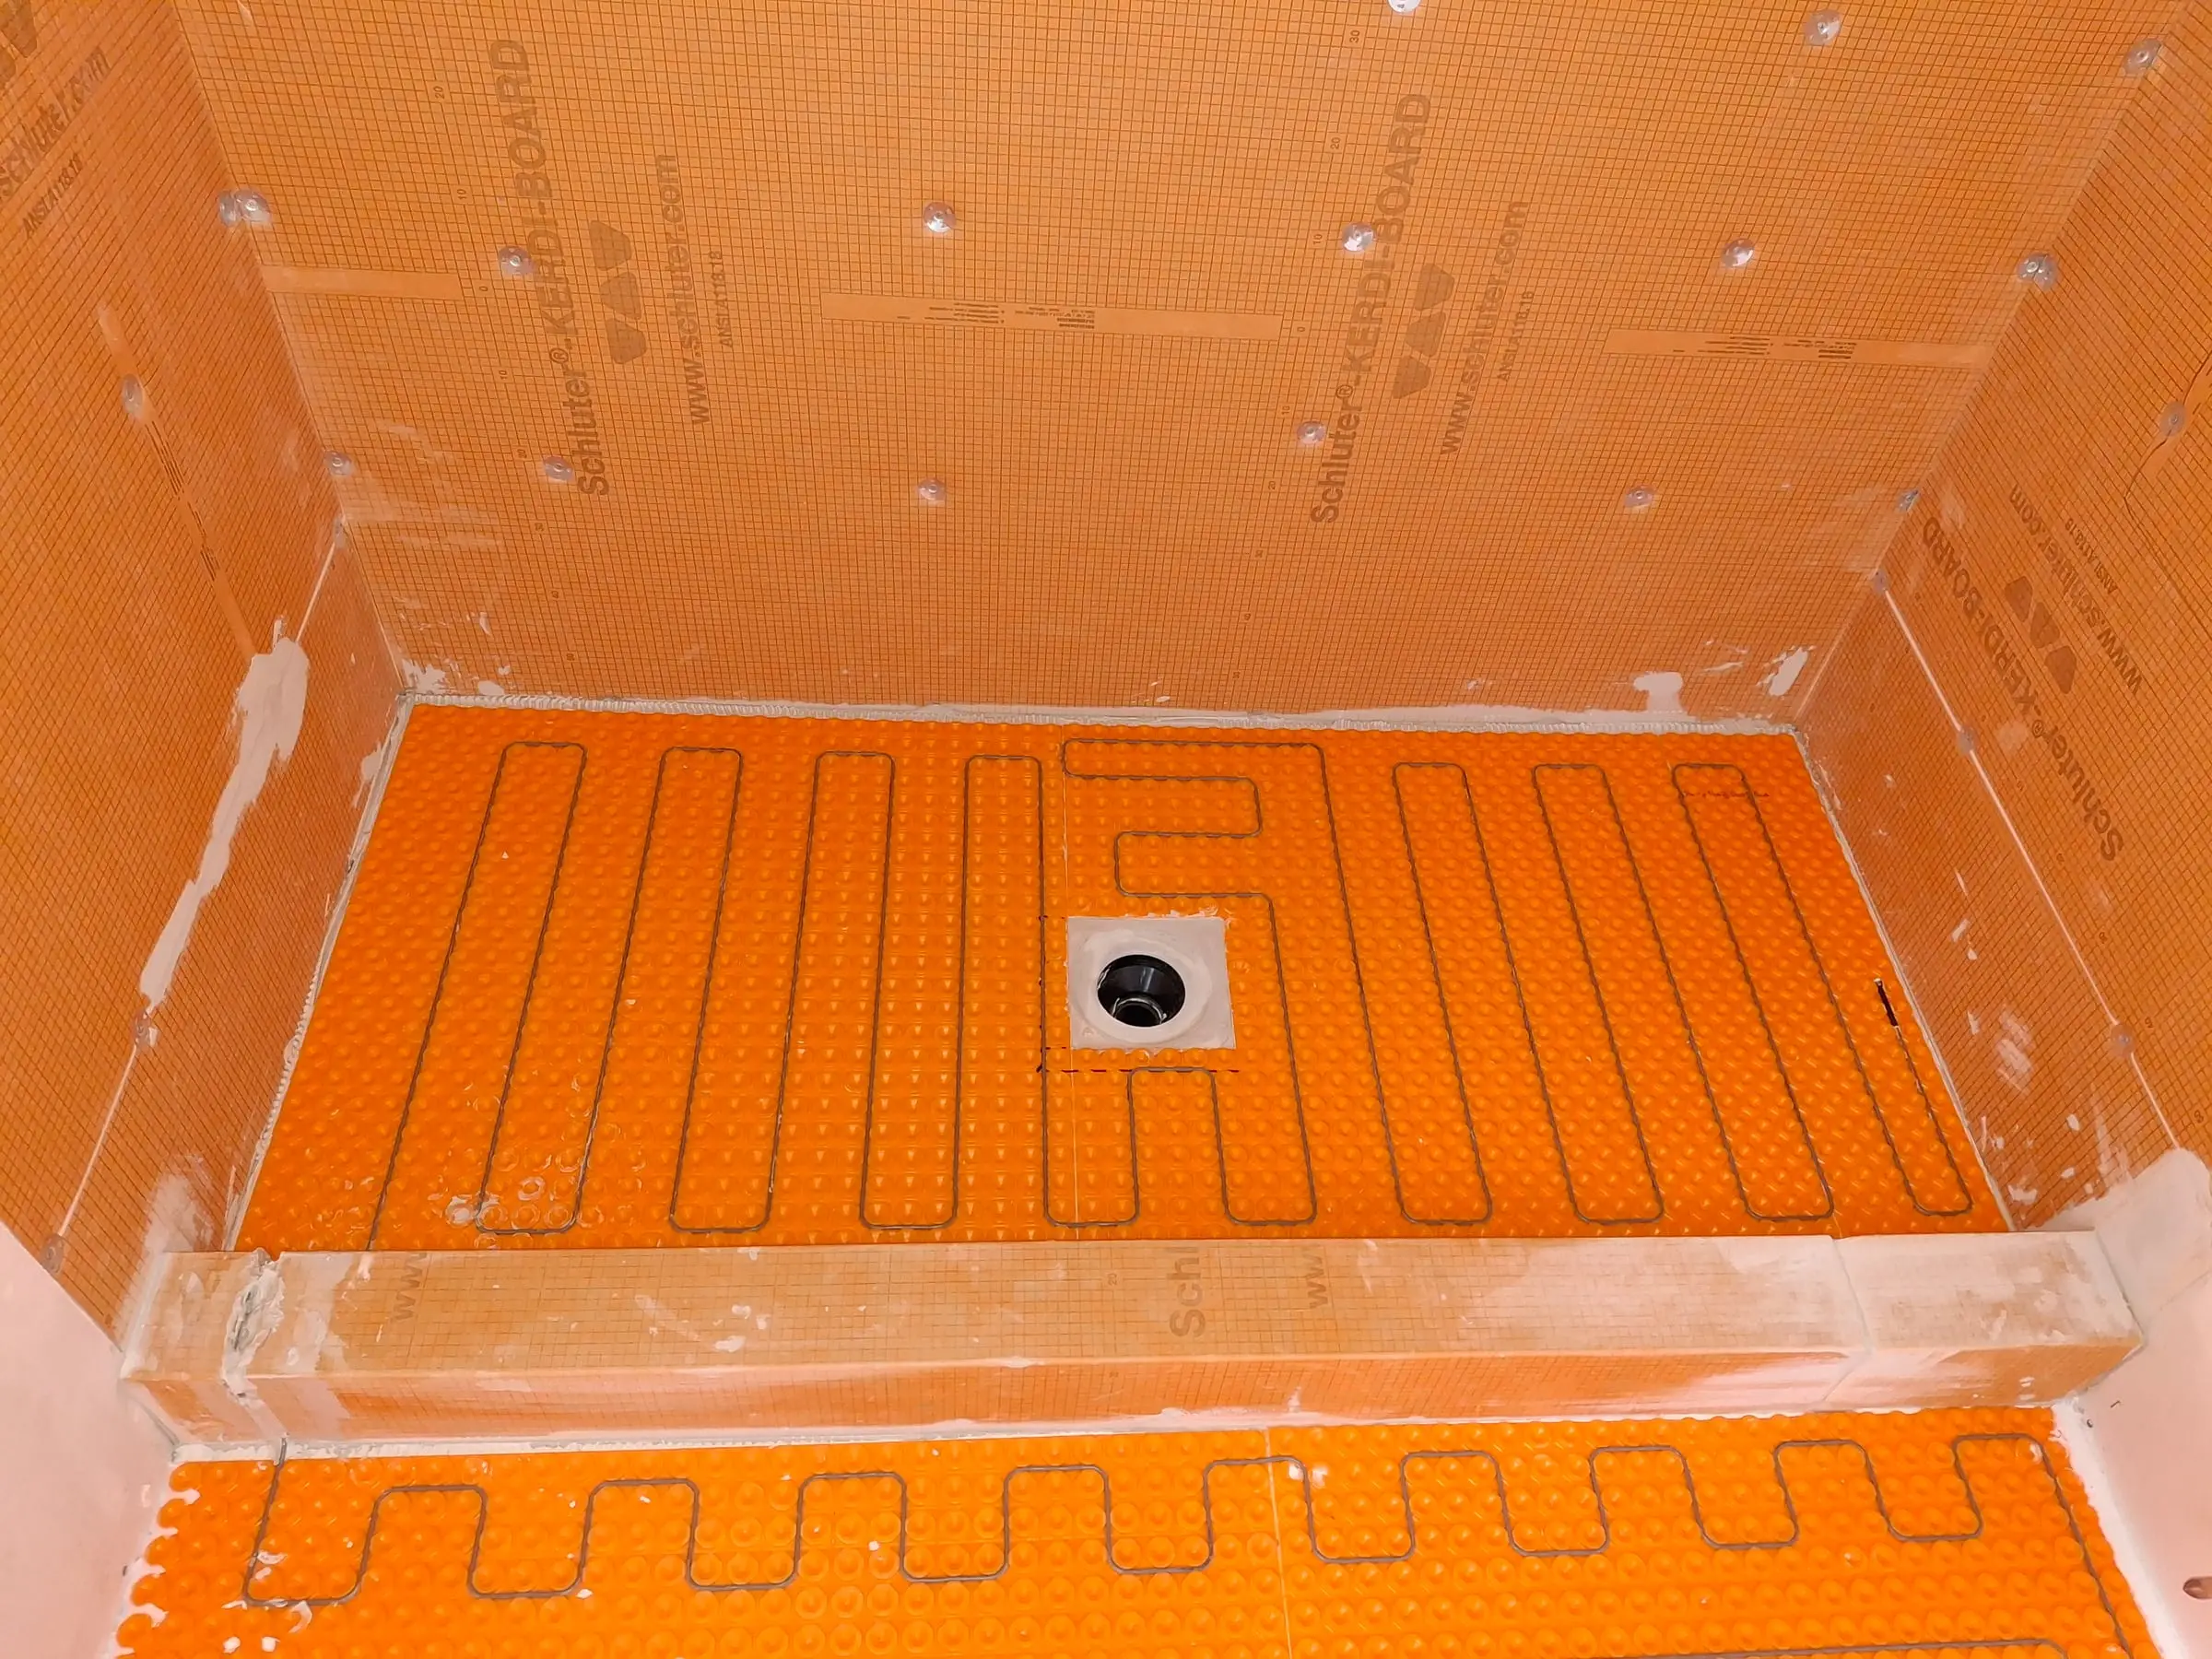
Tile and grout are not waterproof on their own. In a tiled shower floor the work that keeps water out of the house is the layers underneath.
- 1Tile and groutThe finish. It sheds water, but it does not stop it.
- 2Thin-set mortarBonds the tile to the waterproofing below it.
- 3Schluter waterproofingThe layer that actually keeps water out, sealed at every seam, corner and drain.
- 4Sloped shower baseFalls toward the drain, so water never sits under the tile.
- 5Subfloor and framingChecked, solid and blocked where a grab bar or bench will go.
How A Shower Gets Built
Five Stages, Most Of Them Buried.
- 01
Strip back
The old enclosure comes out and the framing is checked, with blocking added where a grab bar or bench will need something solid behind it.
- 02
Build the base
The drain is positioned first, because every surface above it has to fall toward that one point.
- 03
Waterproof
Schluter board and membrane go over the framing, and every seam, corner and screw head is sealed.
- 04
Tile the floor, then the walls
The pan is tiled to follow its slope to the drain before the wall tile starts.
- 05
Finish
Grout, the joints where walls meet the floor and each other, and a walkthrough of the finished shower.
Step By Step
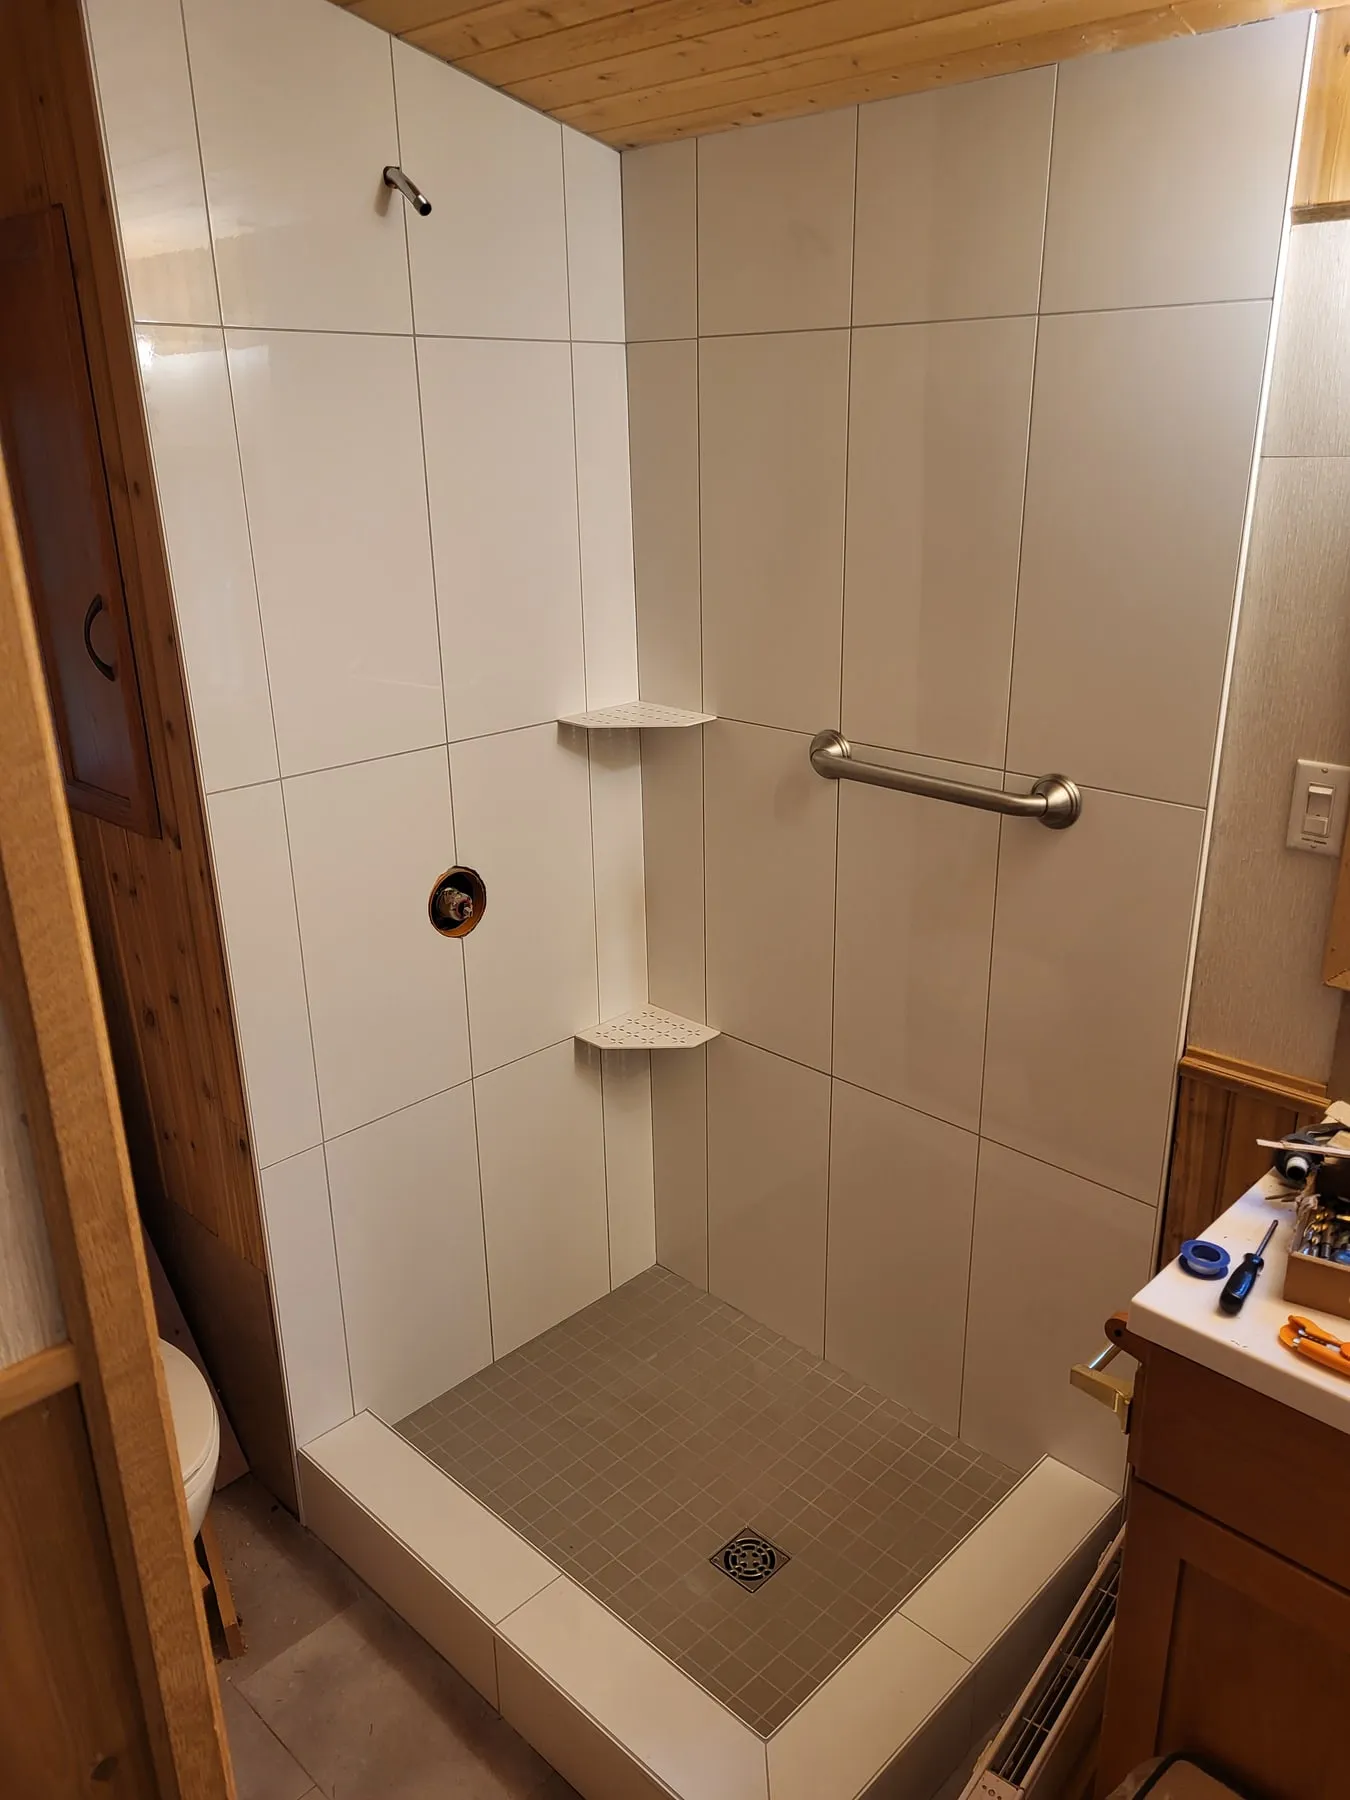
A walk-in shower, rebuilt from the studs out
Most of a tiled shower is buried before the tile goes on. These are the five stages of one rebuild, including the waterproofing layer nobody ever sees again.
Finished Showers
Large Format, Marble Look, Glass Mosaic.
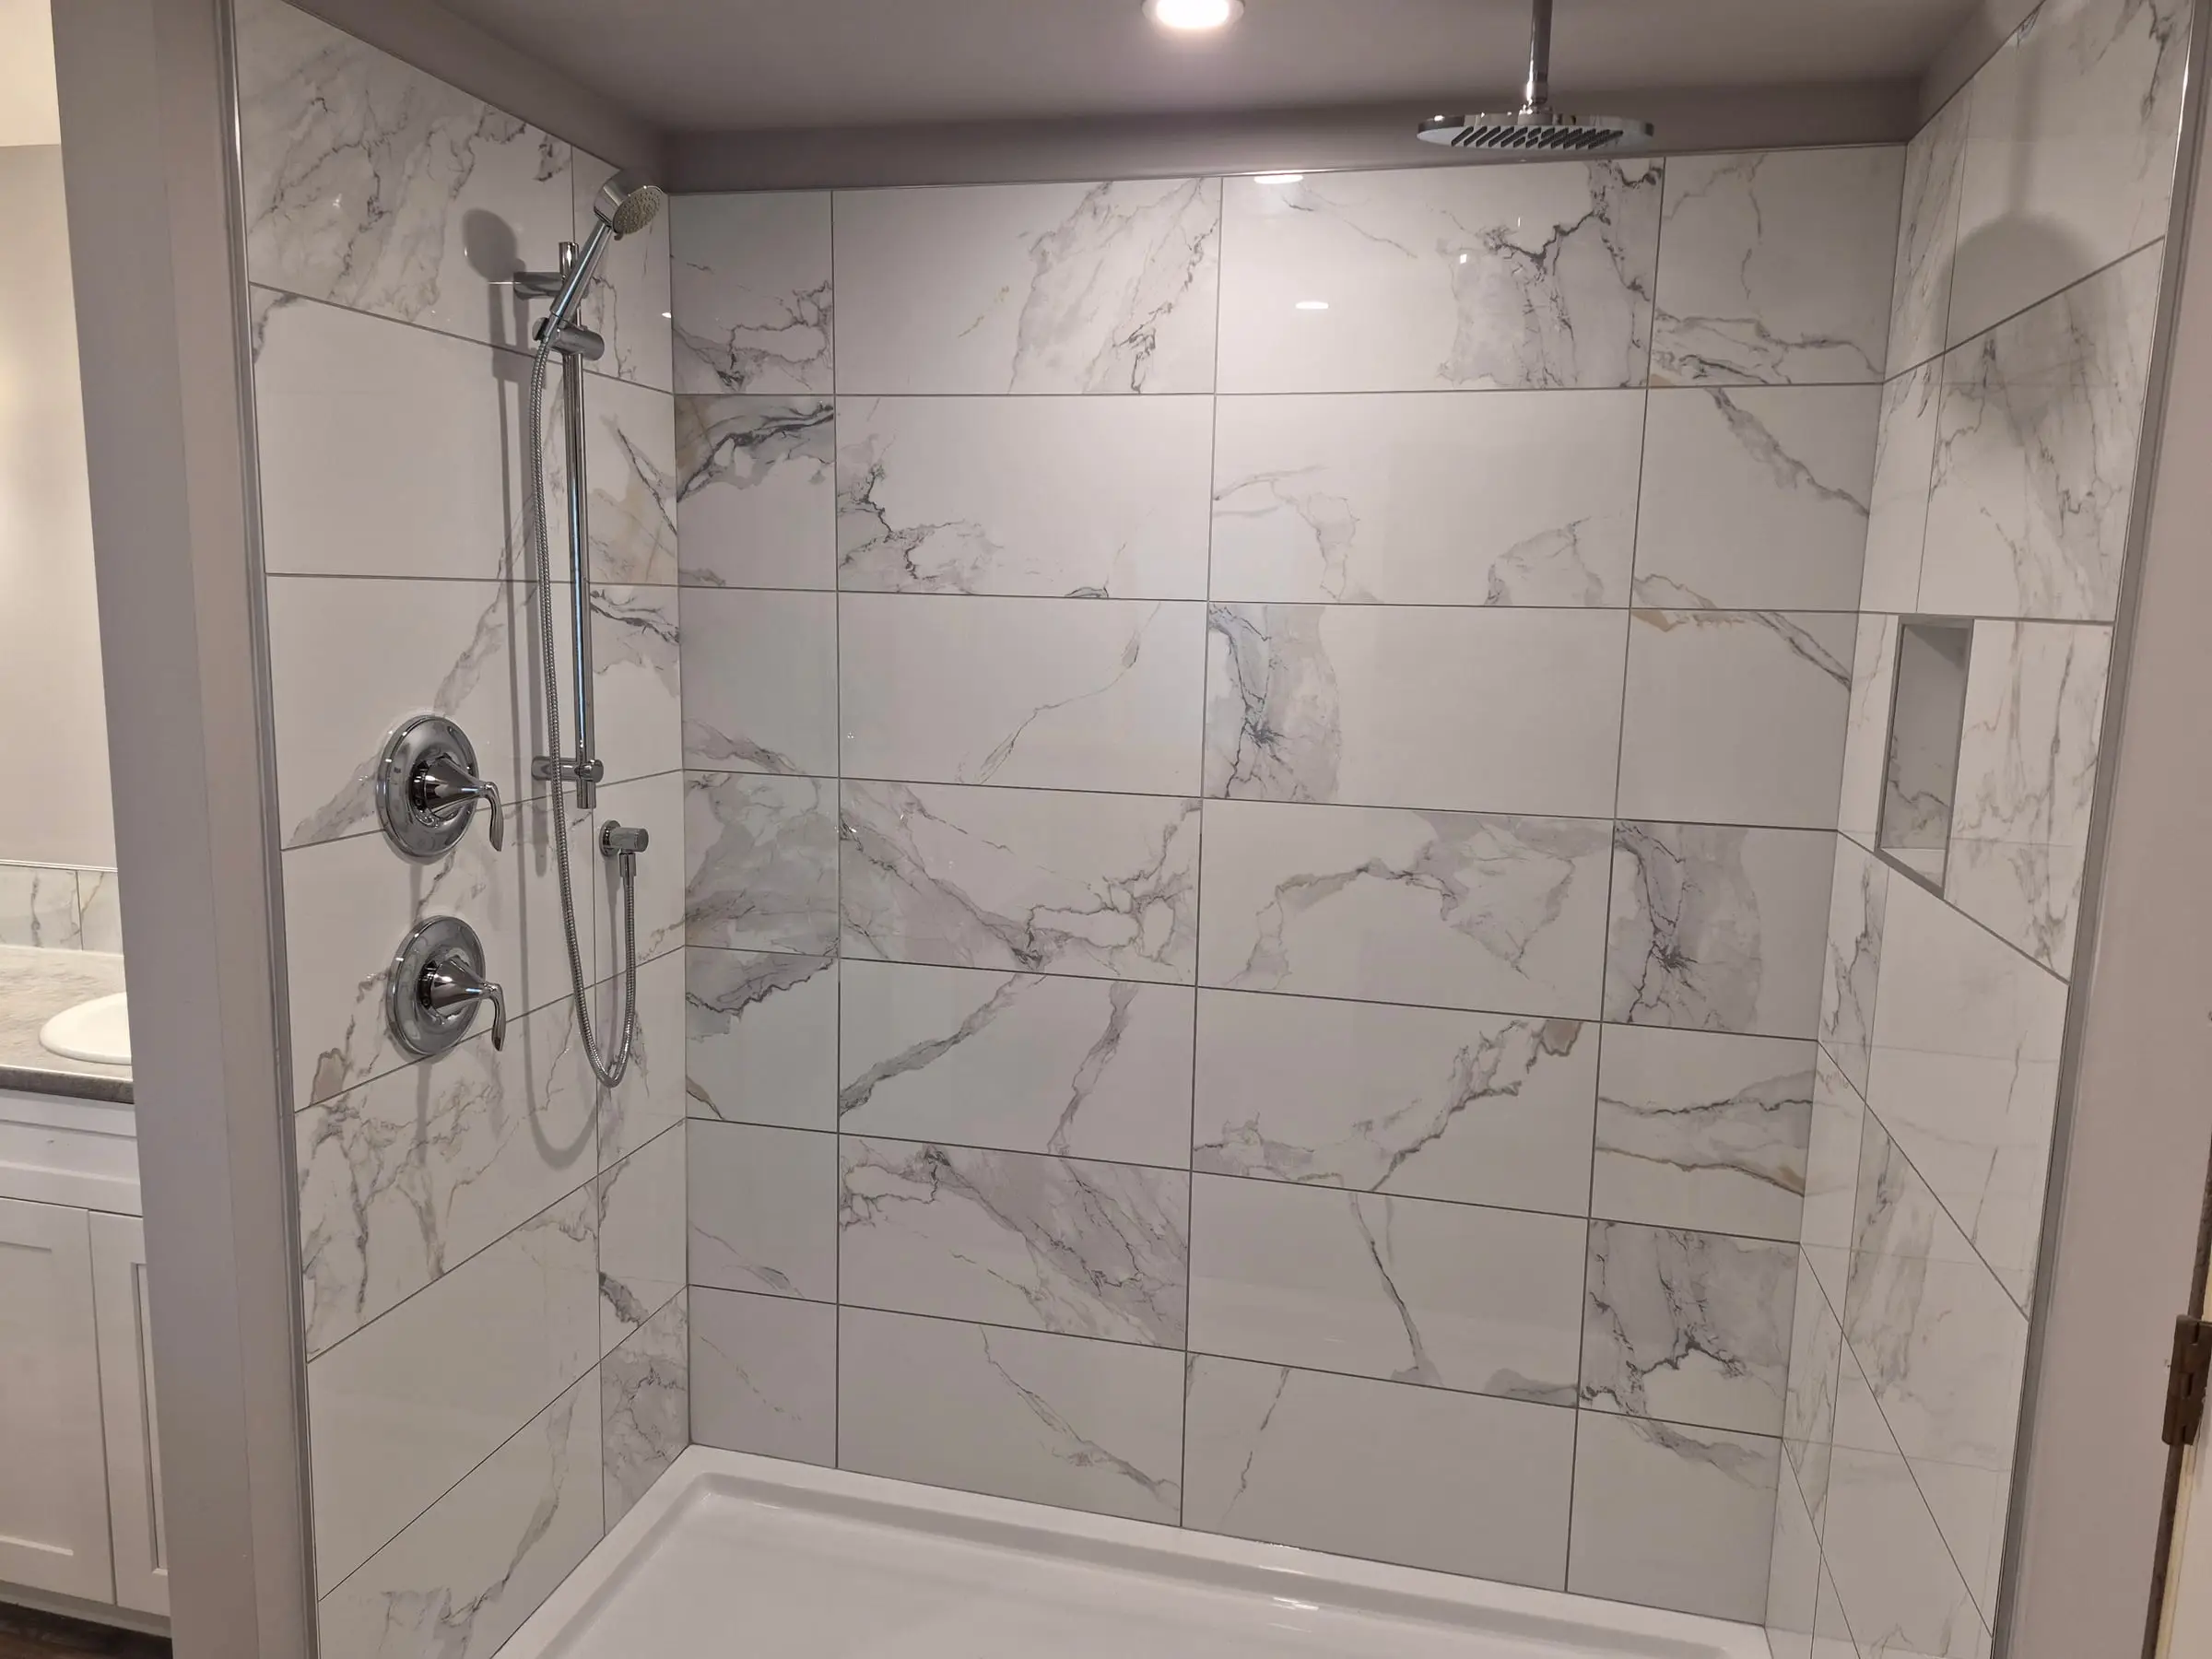
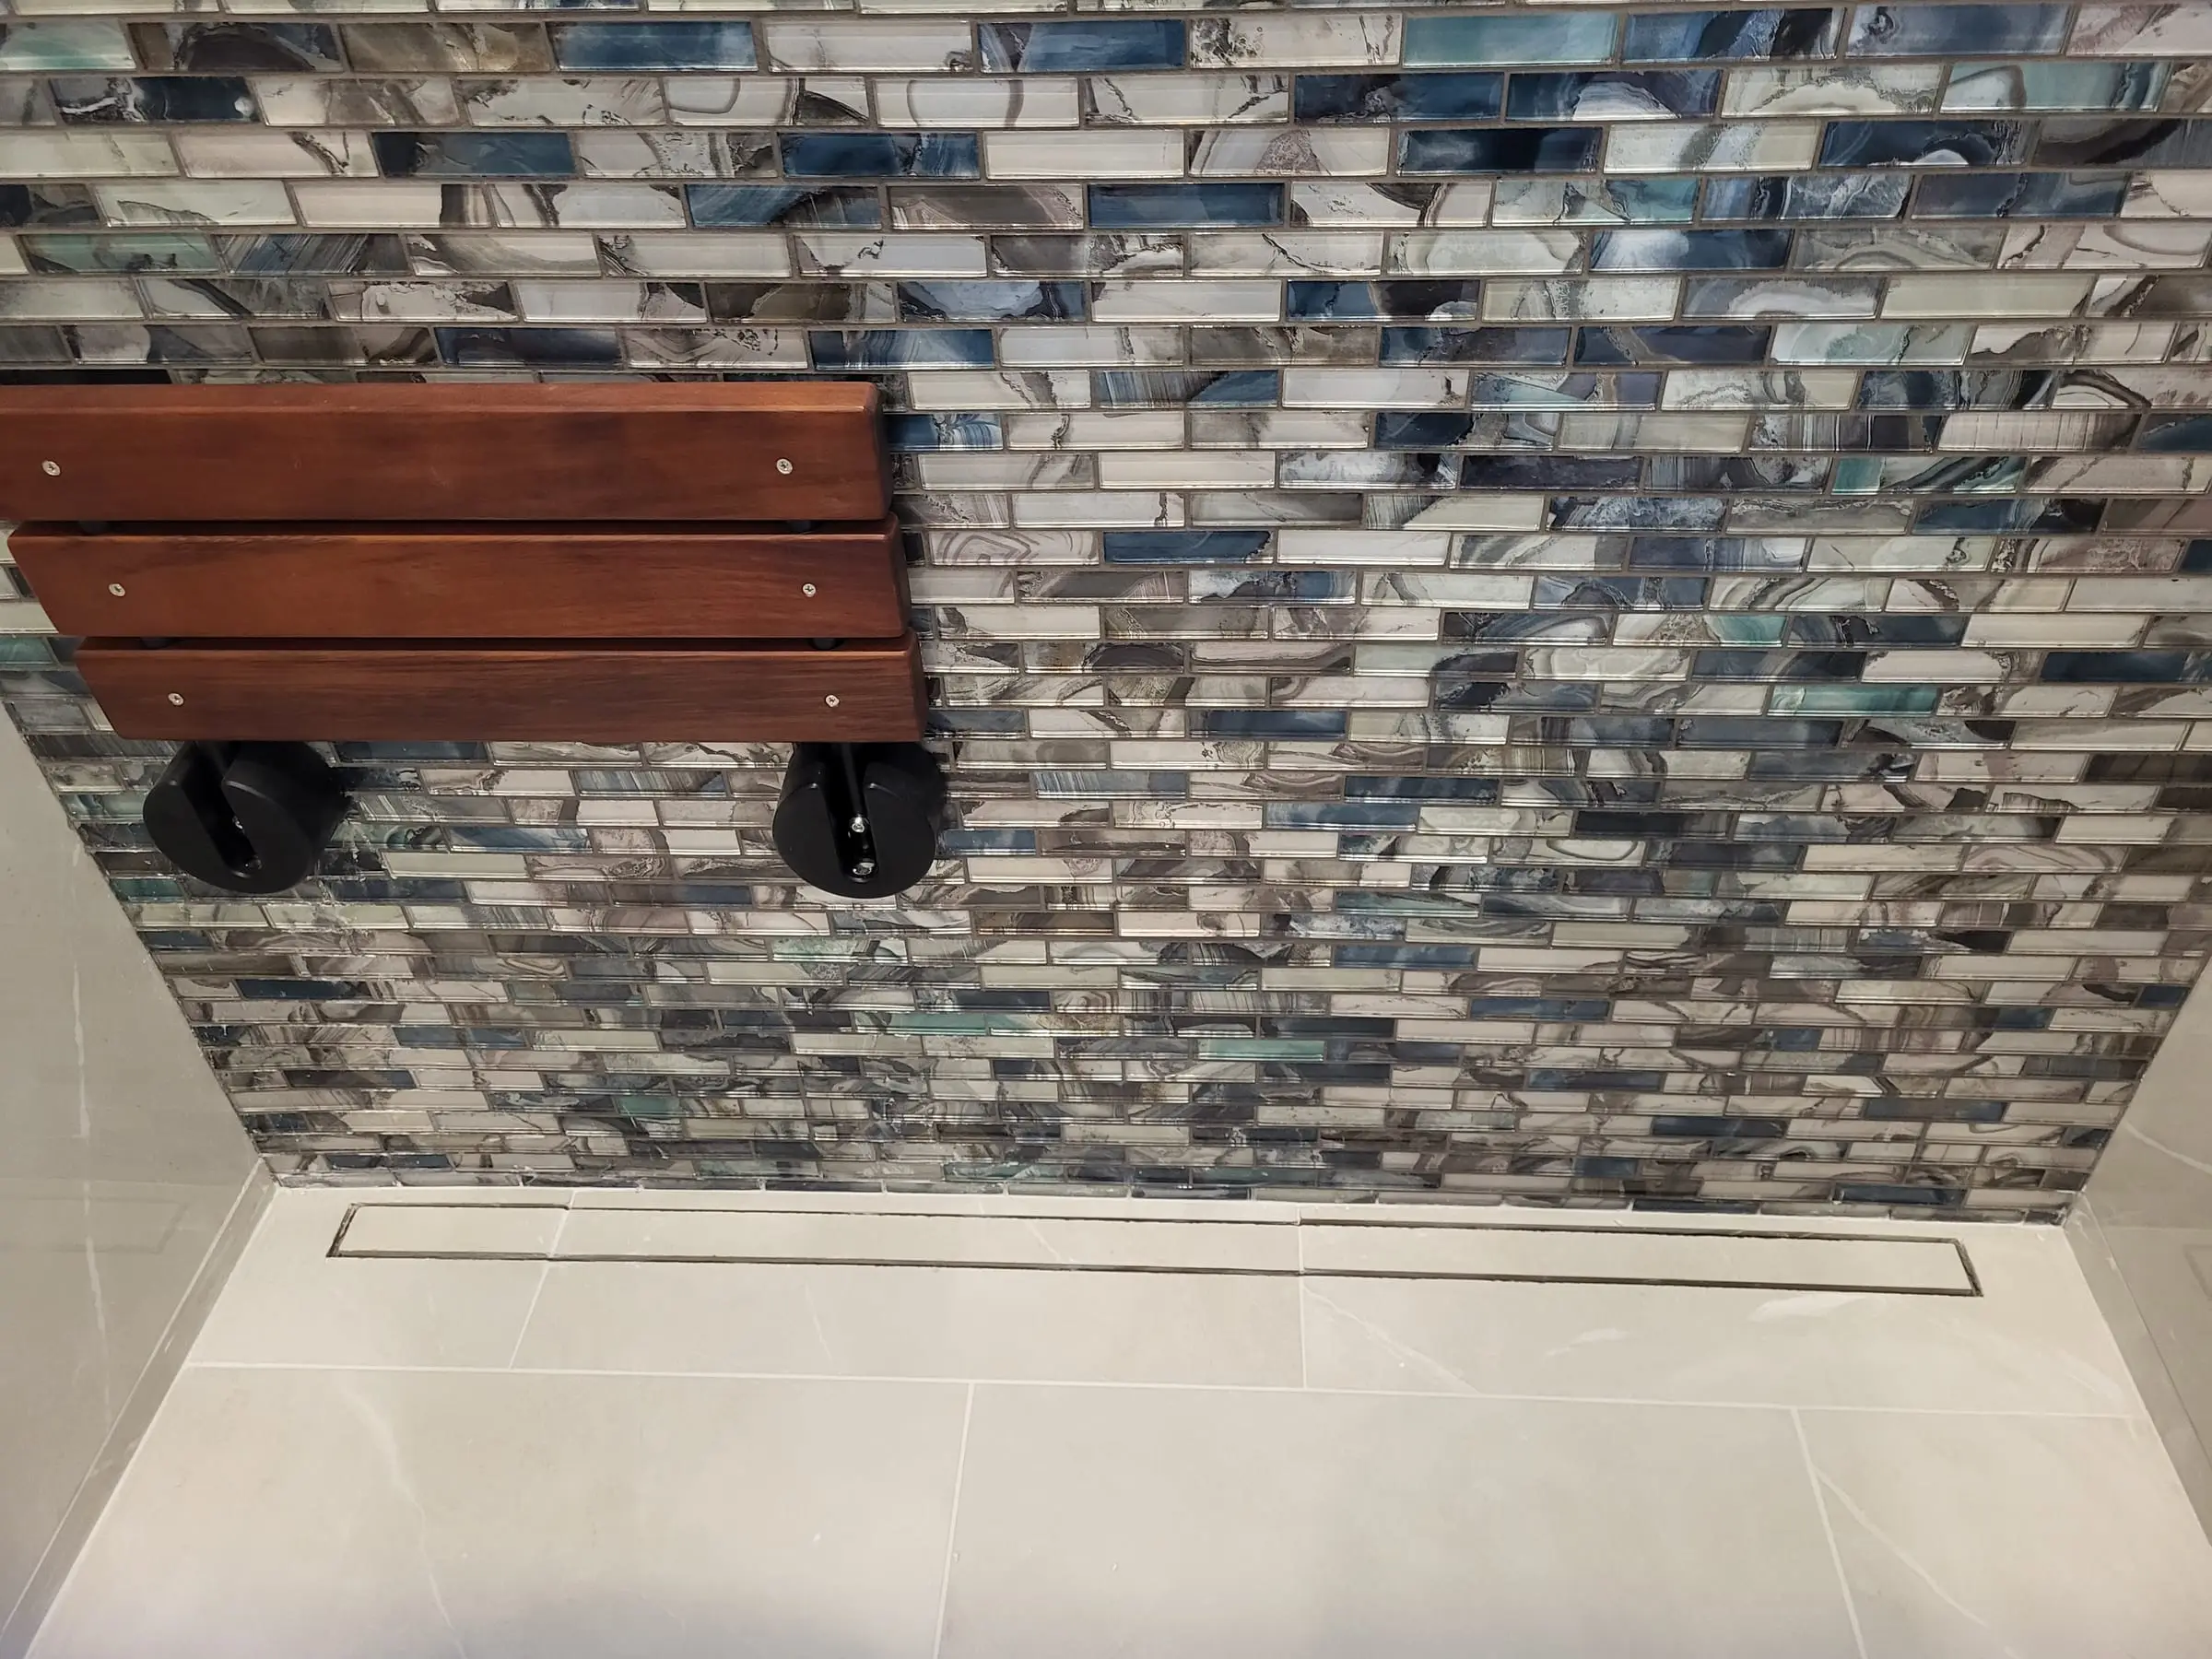
Mosaic feature wall
Common Questions
Custom Tile Showers Questions
Are tile and grout waterproof?
No. Grout is porous, and tile on its own will let moisture through over time. That is why the waterproofing layer behind the tile matters more than anything visible: it is what keeps water out of the walls and the floor structure.
What is Schluter KERDI?
KERDI is Schluter’s waterproofing membrane for showers, and KERDI-BOARD is a waterproof building panel that goes up in place of drywall or cement board. Both make the layer behind the tile waterproof, rather than relying on the tile and grout.
Can you build a walk-in or curbless shower?
The shower in the walkthrough on this page is a walk-in shower, rebuilt from the studs out. A curbless shower, with no step at all, needs the shower floor recessed or the rest of the floor built up so it can still slope to the drain, and whether that is possible depends on the framing underneath.
Can a shower niche go in any wall?
A niche needs room between the studs, and is best kept out of an exterior wall, where it would cut into the insulation. It is planned before the waterproofing goes up so it can be sealed as part of the same system.
How long does a shower renovation take?
It depends on the size of the shower, what has to come out, and the other trades involved. A realistic timeframe can be given once the space and the scope are known.
Related Work
More From Bennett & Sons.
Tile & Bathrooms
All of David’s tile and bathroom work, on one page.
Learn moreBathroom Renovations
The tile side of a bathroom: showers, waterproofing, tiled floors and heated floors.
Learn moreHeated Floors
Electric floor warming under tile, laid out to suit the room and protected through to the finish.
Learn moreKitchen Backsplashes
Layout set out first, and every cut around outlets, windows and cabinets finished cleanly.
Learn more
Planning A New Shower?
Send photos of the bathroom, the tile you have in mind and roughly what you want changed, and David will follow up.