

Tile & Bathrooms
Tile Installation, Made For
The Way You Live.
From waterproof shower systems to heated bathroom floors and detailed backsplashes, Bennett & Sons Installations handles the preparation and finish work needed for a clean, durable installation in Port Alberni and across Vancouver Island.
Tile & Bathroom Services
Four Kinds Of Tile Work, Each In Detail.
Each has its own page: what the job involves, how it goes in, real photographs and the questions people ask about it.
Custom Tile Showers
Tiled showers built from the substrate up, with Schluter waterproofing behind every wall and floor.
Learn moreHeated Floors
Electric floor warming under tile, laid out to suit the room and protected through to the finish.
Learn moreKitchen Backsplashes
Layout set out first, and every cut around outlets, windows and cabinets finished cleanly.
Learn moreBathroom Renovations
The tile side of a bathroom: showers, waterproofing, tiled floors and heated floors.
Learn more
Custom Showers & Bathrooms
Showers Built From The Substrate Up.
Bathroom tile has to handle water, movement and daily use. The preparation underneath a shower matters as much as the tile you see, and both get attention here.
- Shower walls and floors
- Bathroom floors
- Niches and feature details
- Clean tile transitions
- Renovation and new-installation projects
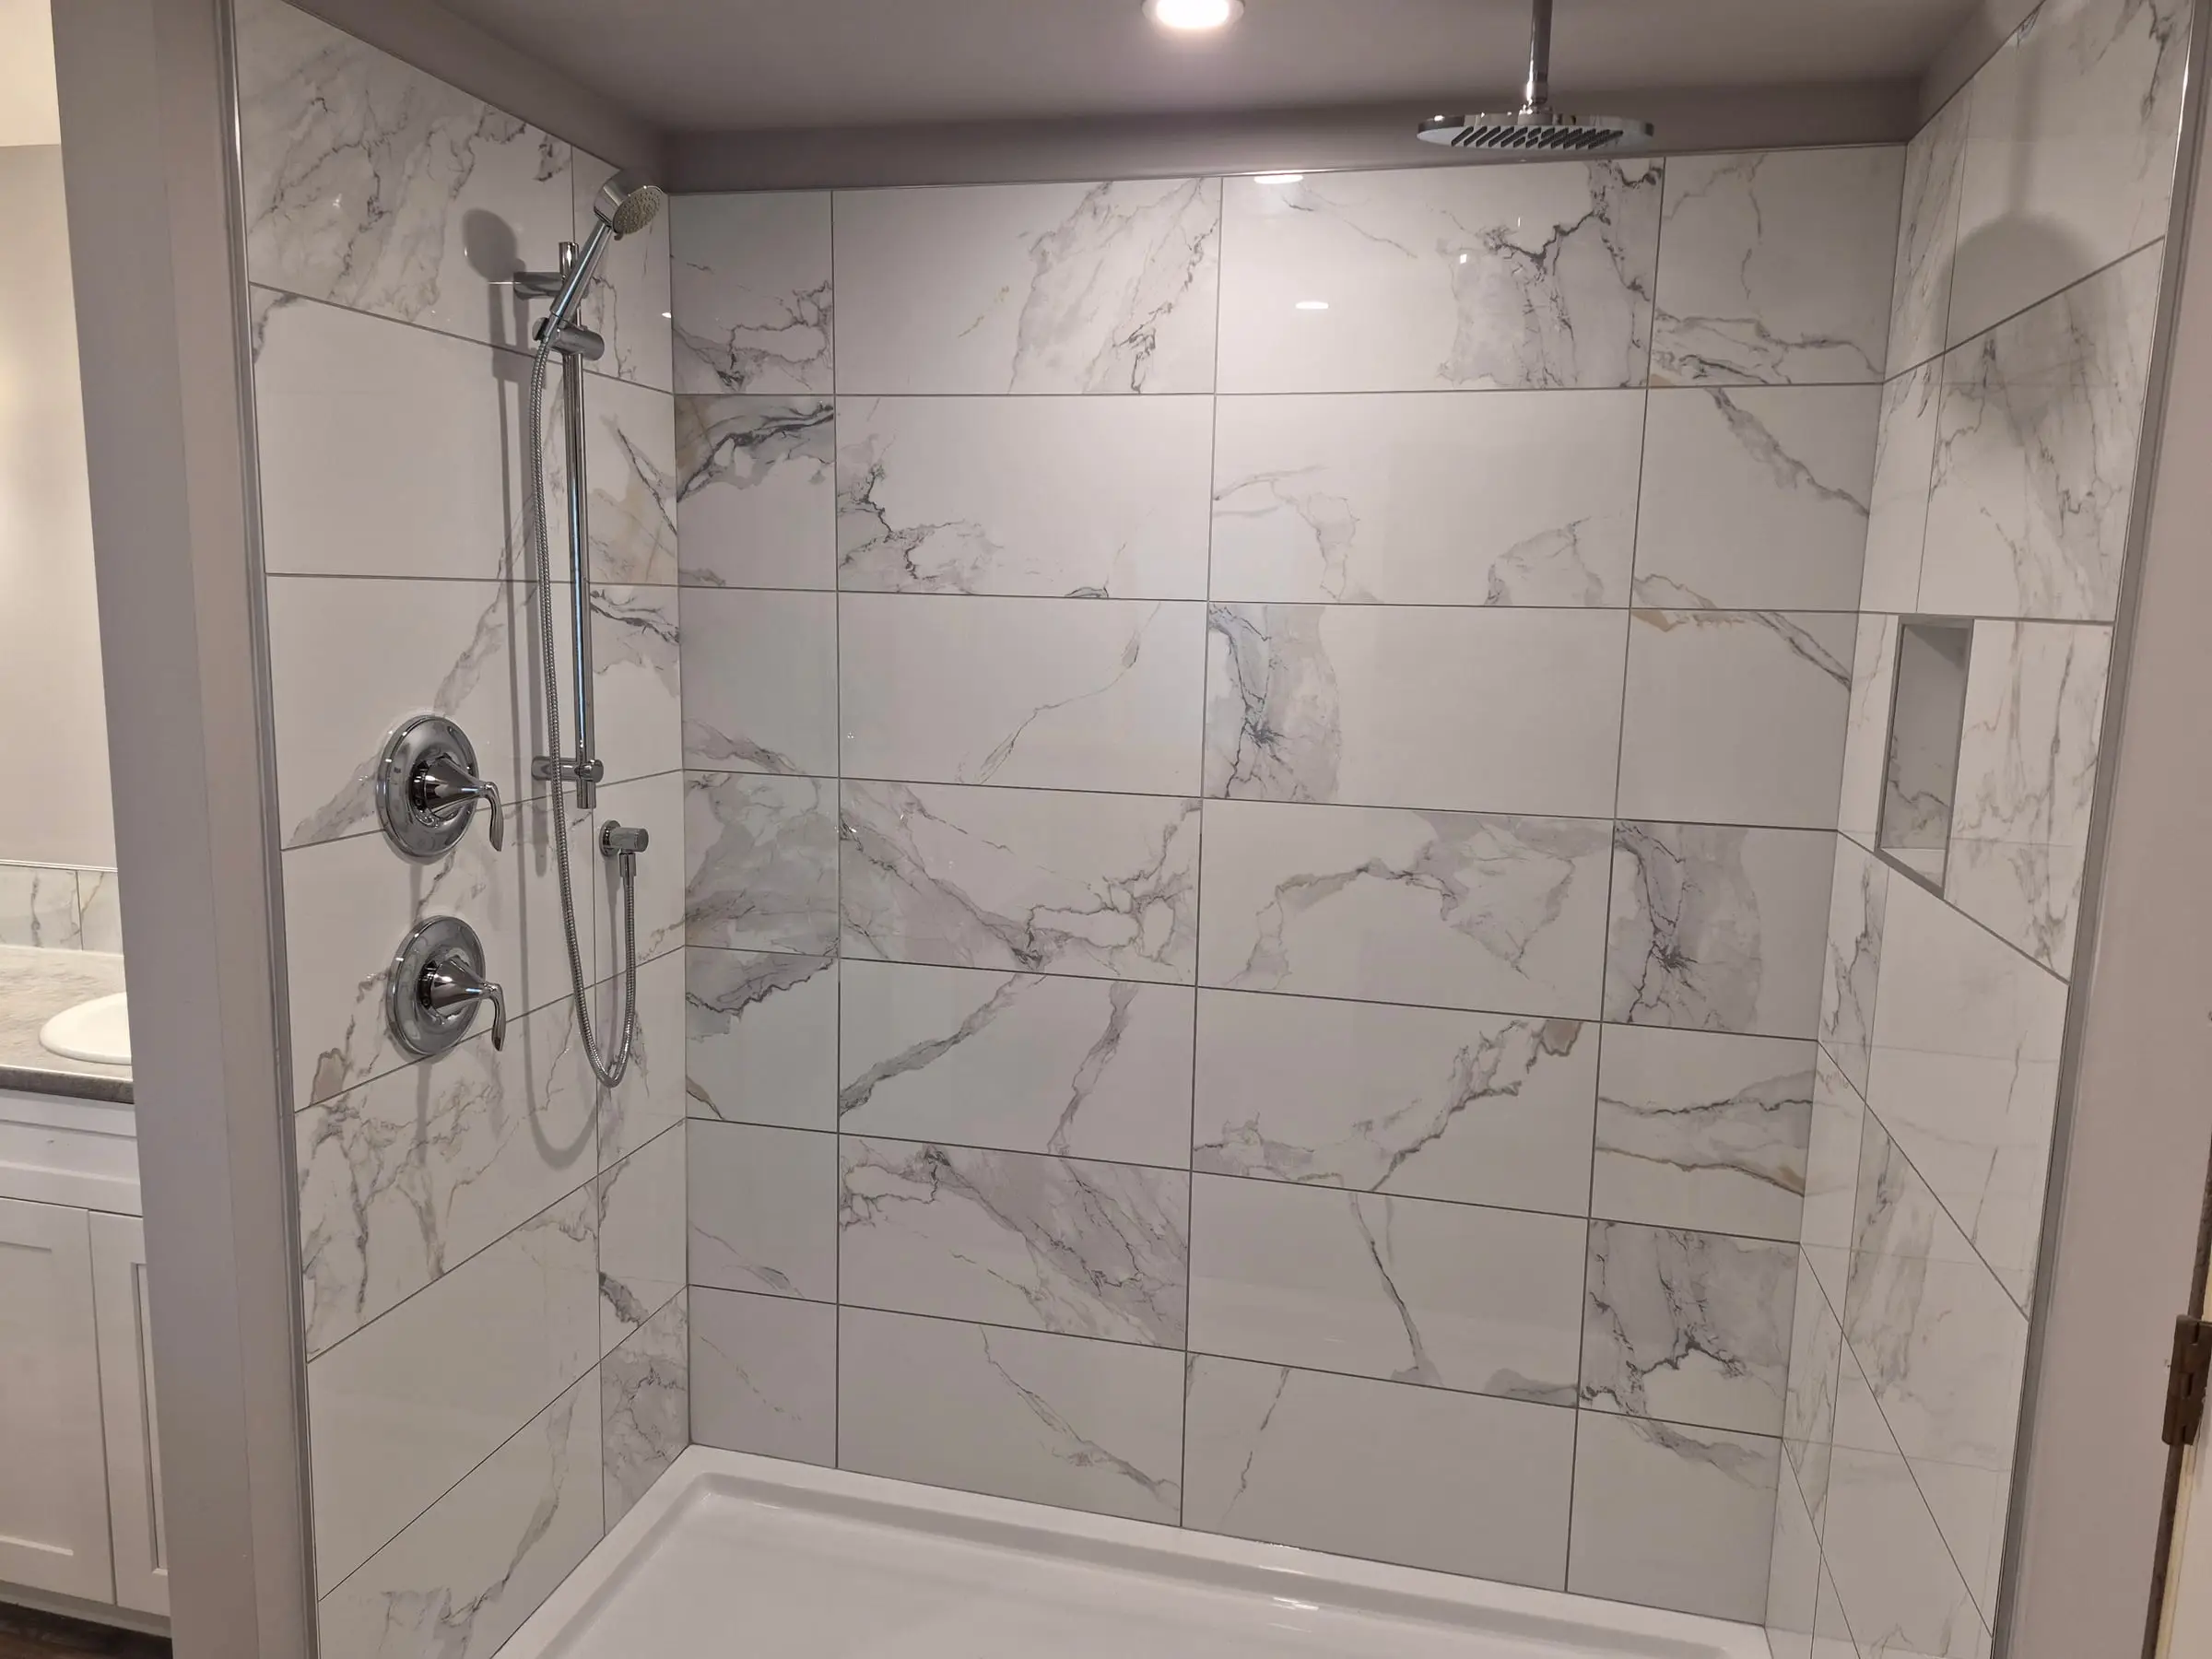
Waterproofing Systems
Water Management Comes First.
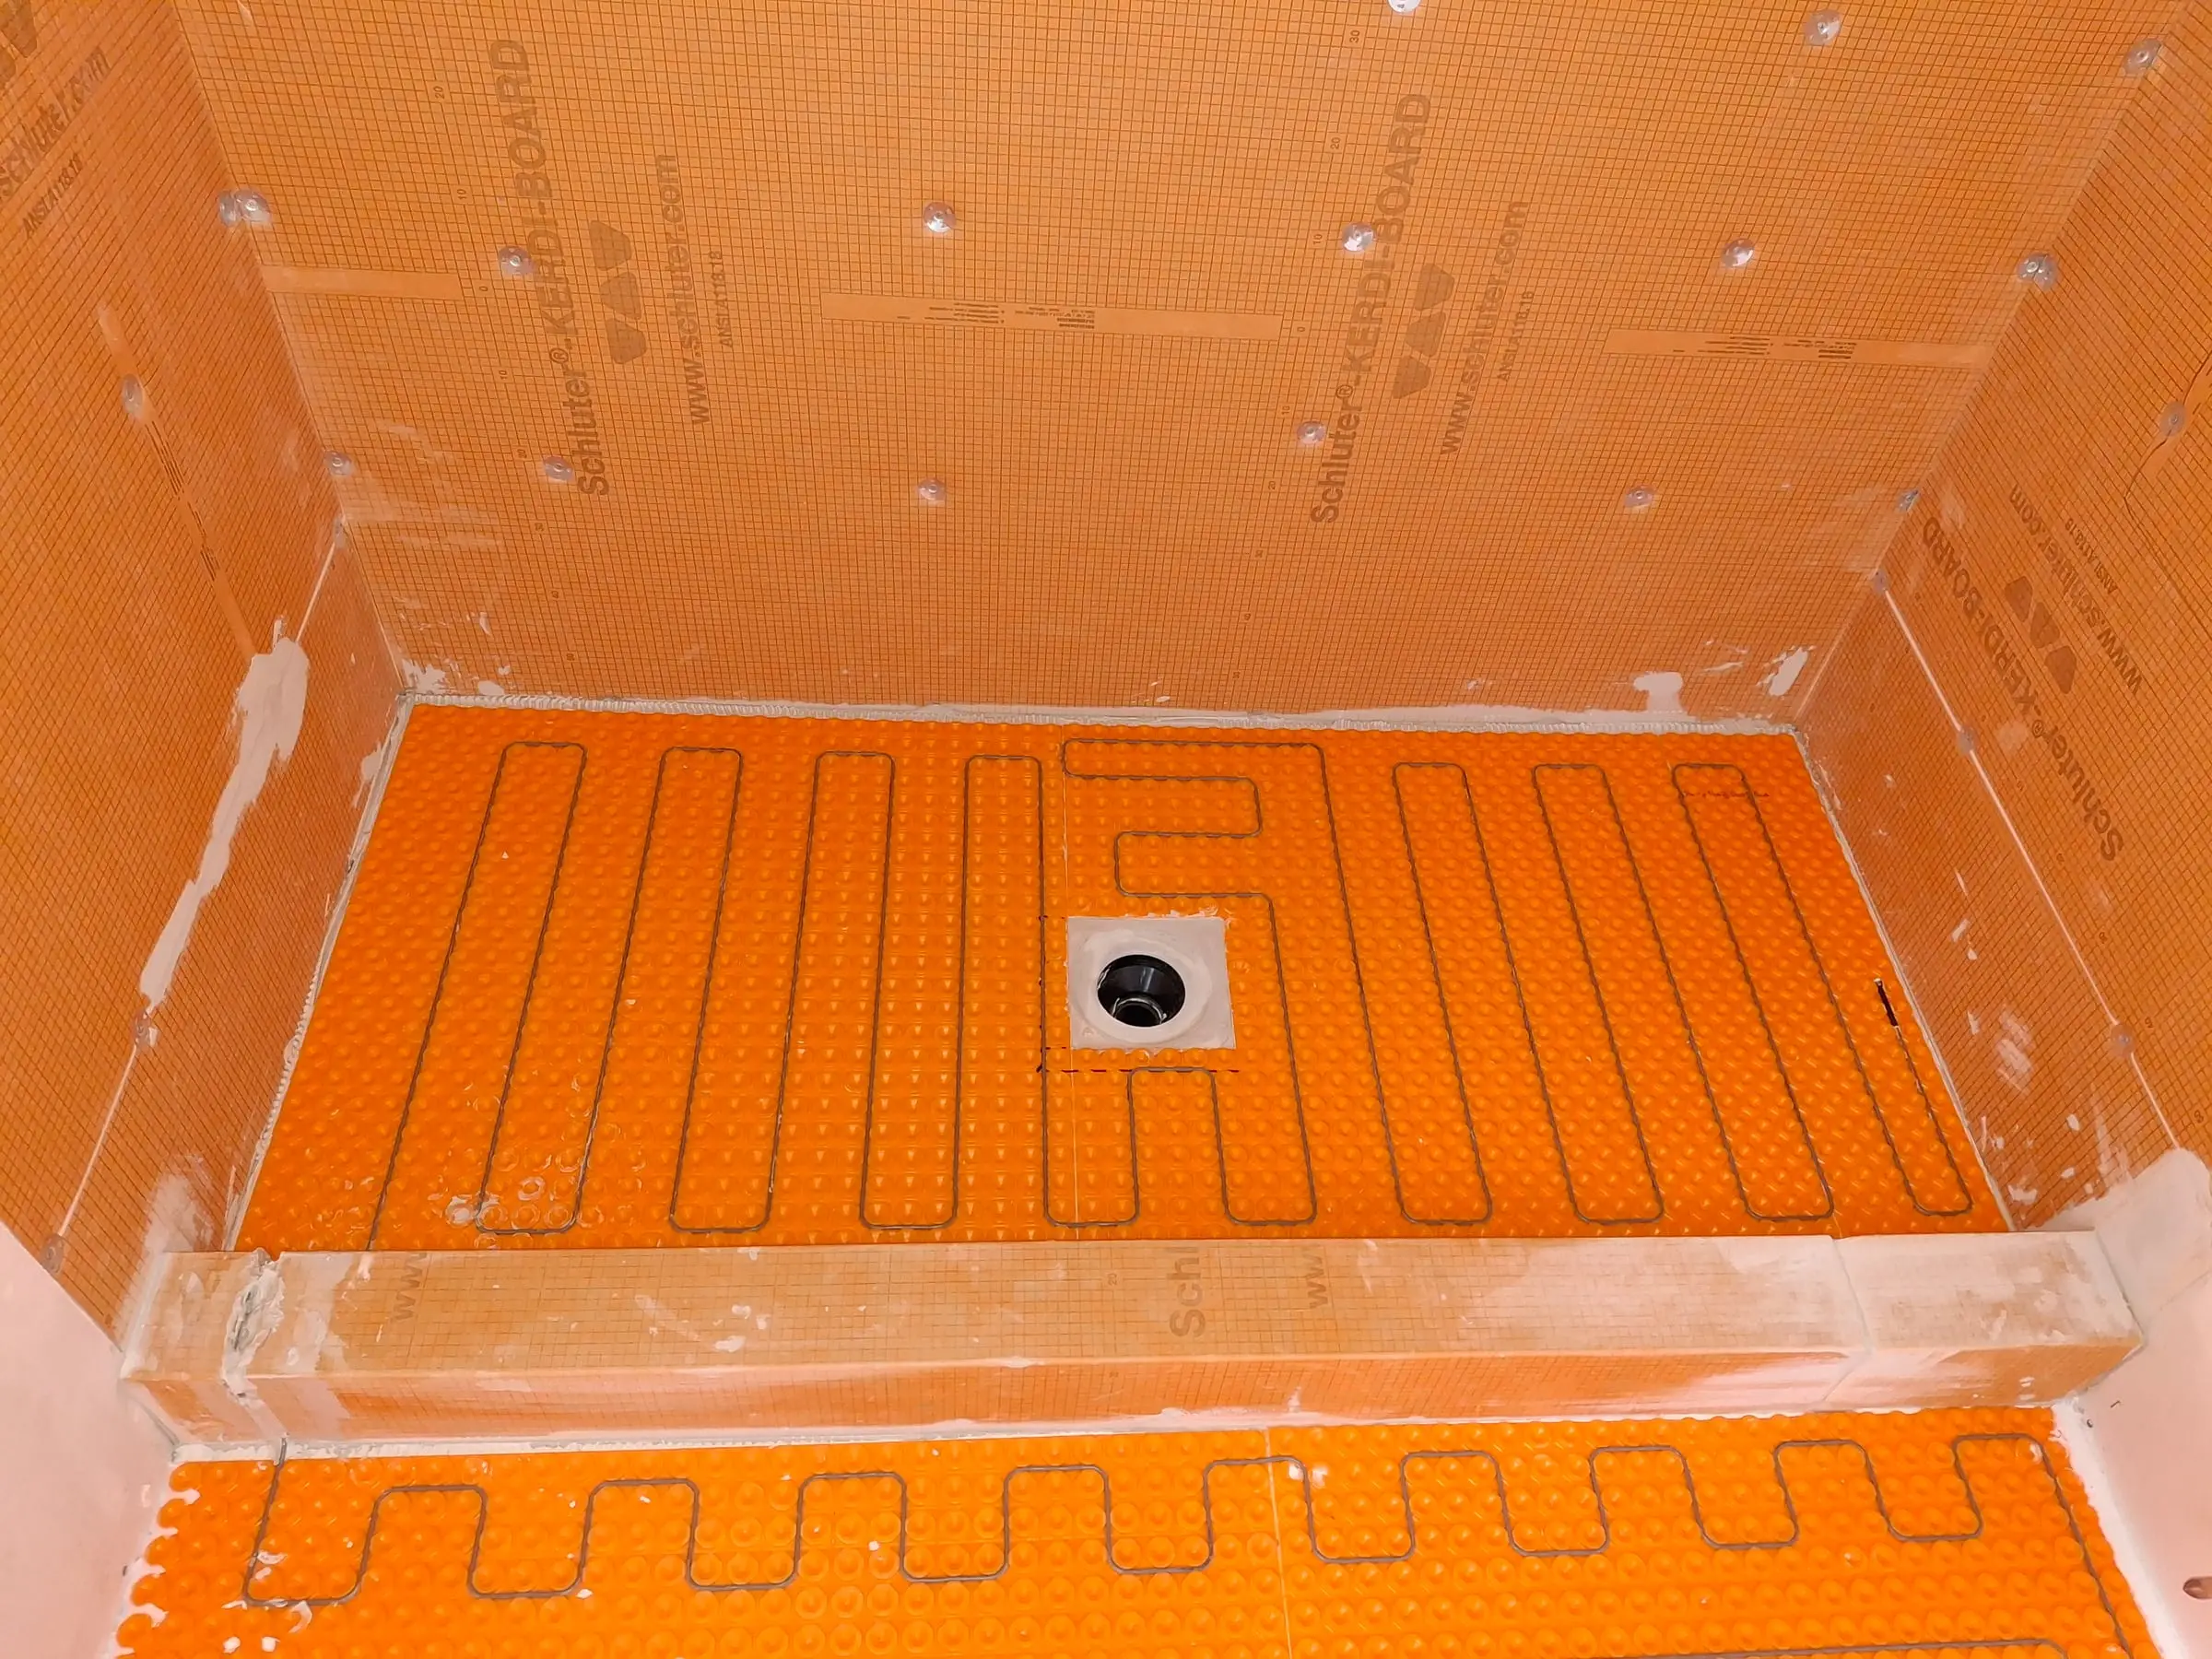
Water management is one of the most important parts of a tiled shower. Proper preparation and waterproofing help protect the structure behind the finished tile and support a longer-lasting result. Bennett & Sons is a Schluter-Certified Installer and uses Schluter waterproofing products and installation methods.
- Schluter membrane and board systems
- Seams, corners and penetrations detailed as part of the installation
- Preparation completed before any tile is set
- Shower floors sloped to drain
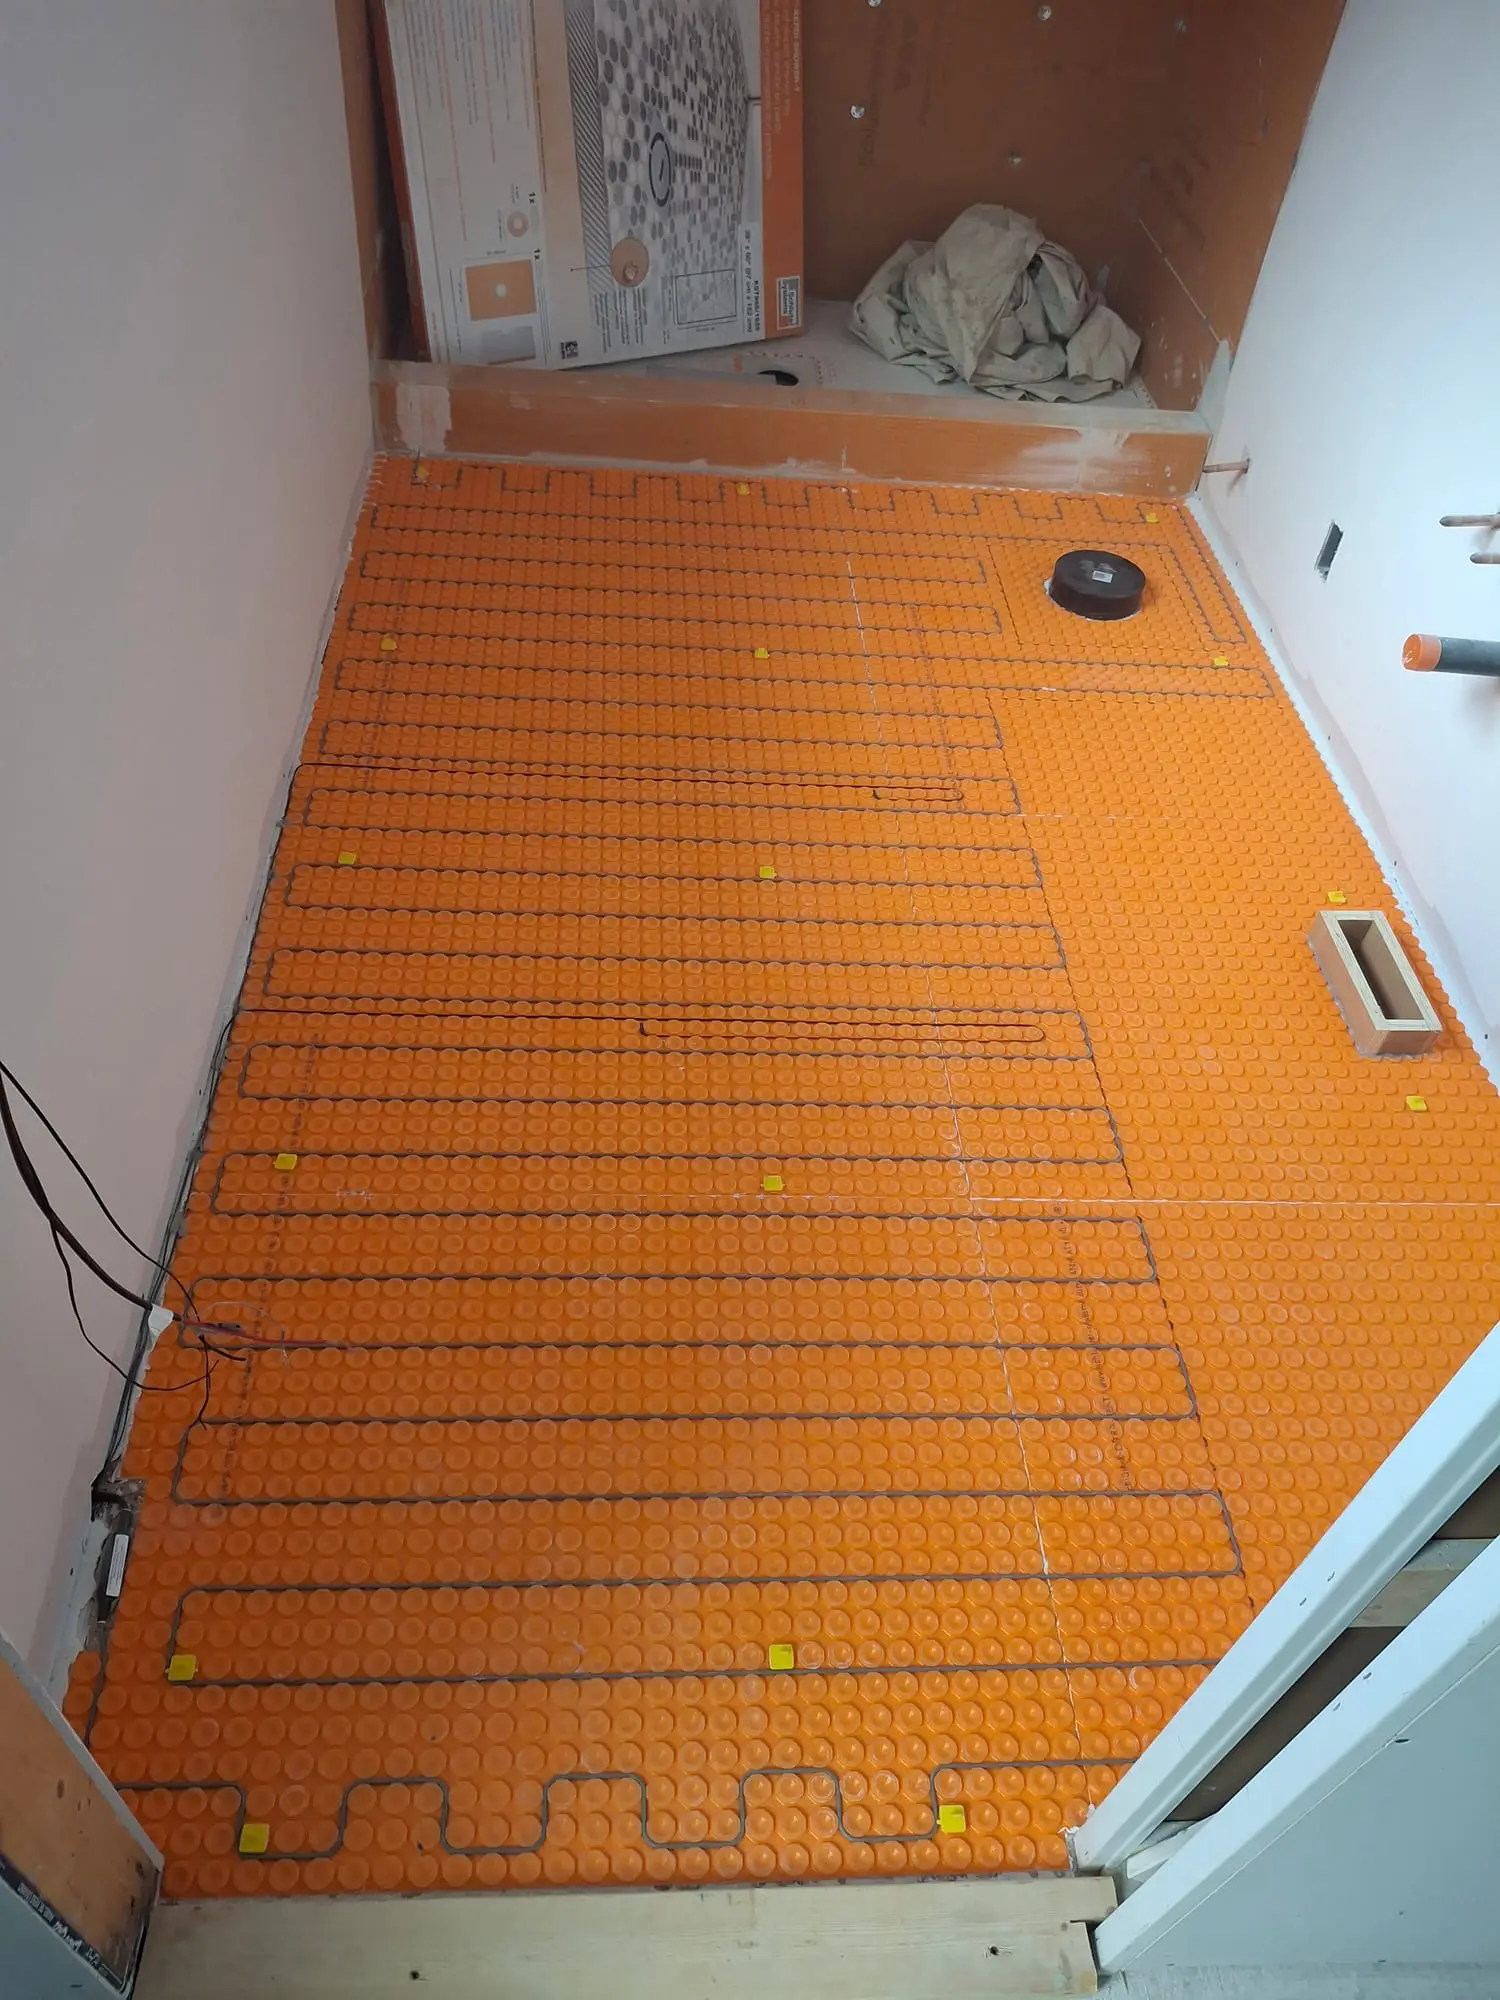
Heated Floors
A Warm Floor Underfoot.
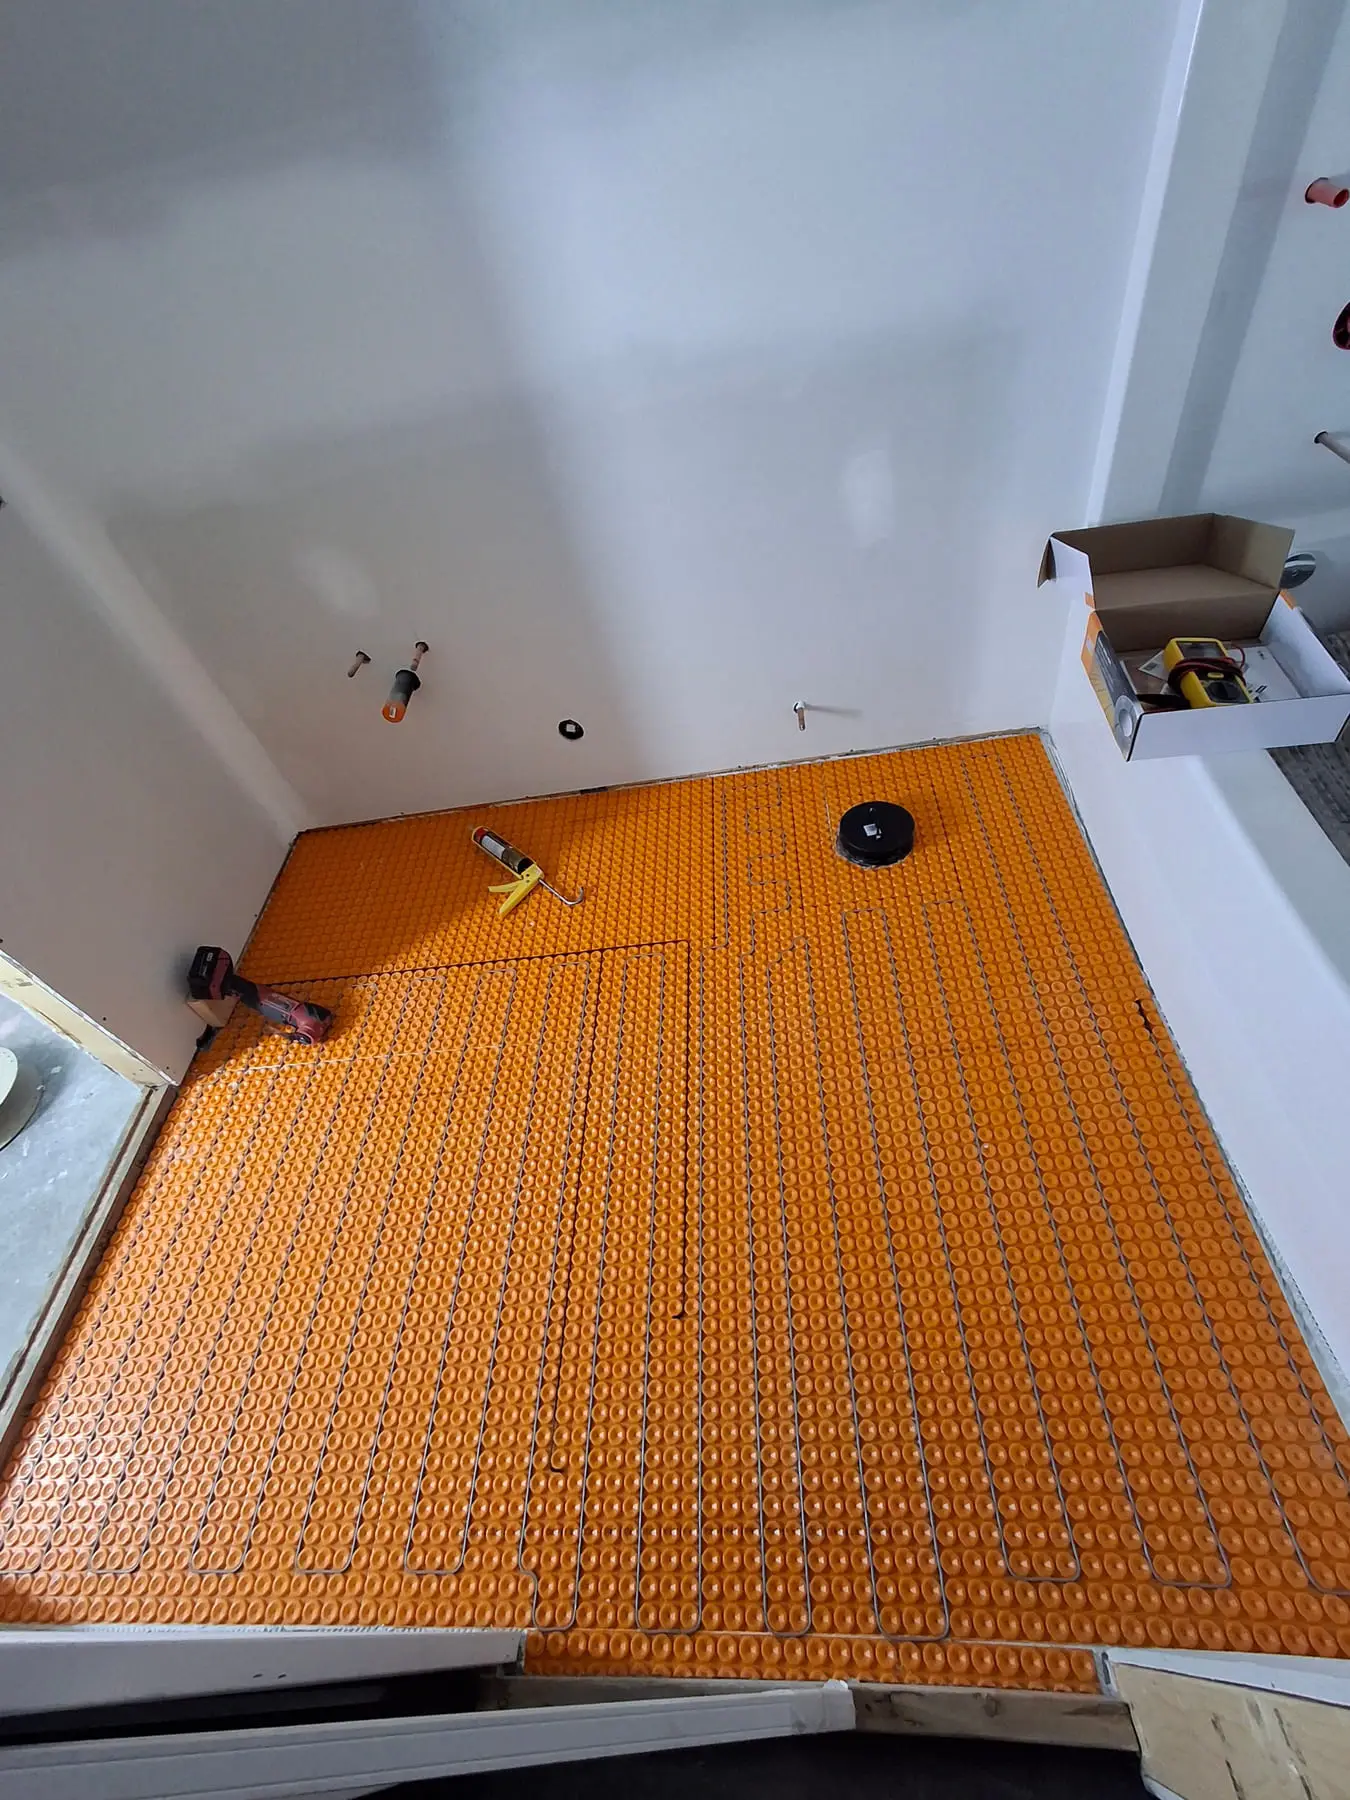
Electric floor warming is one of the few upgrades homeowners notice every single morning. It is installed under the tile, so it is worth deciding on before the bathroom is rebuilt rather than after.
- Cable and mat systems installed under tile
- Laid out to suit the room and the fixtures
- Protected during installation and embedded in the setting bed
- Best planned at the start of a bathroom project
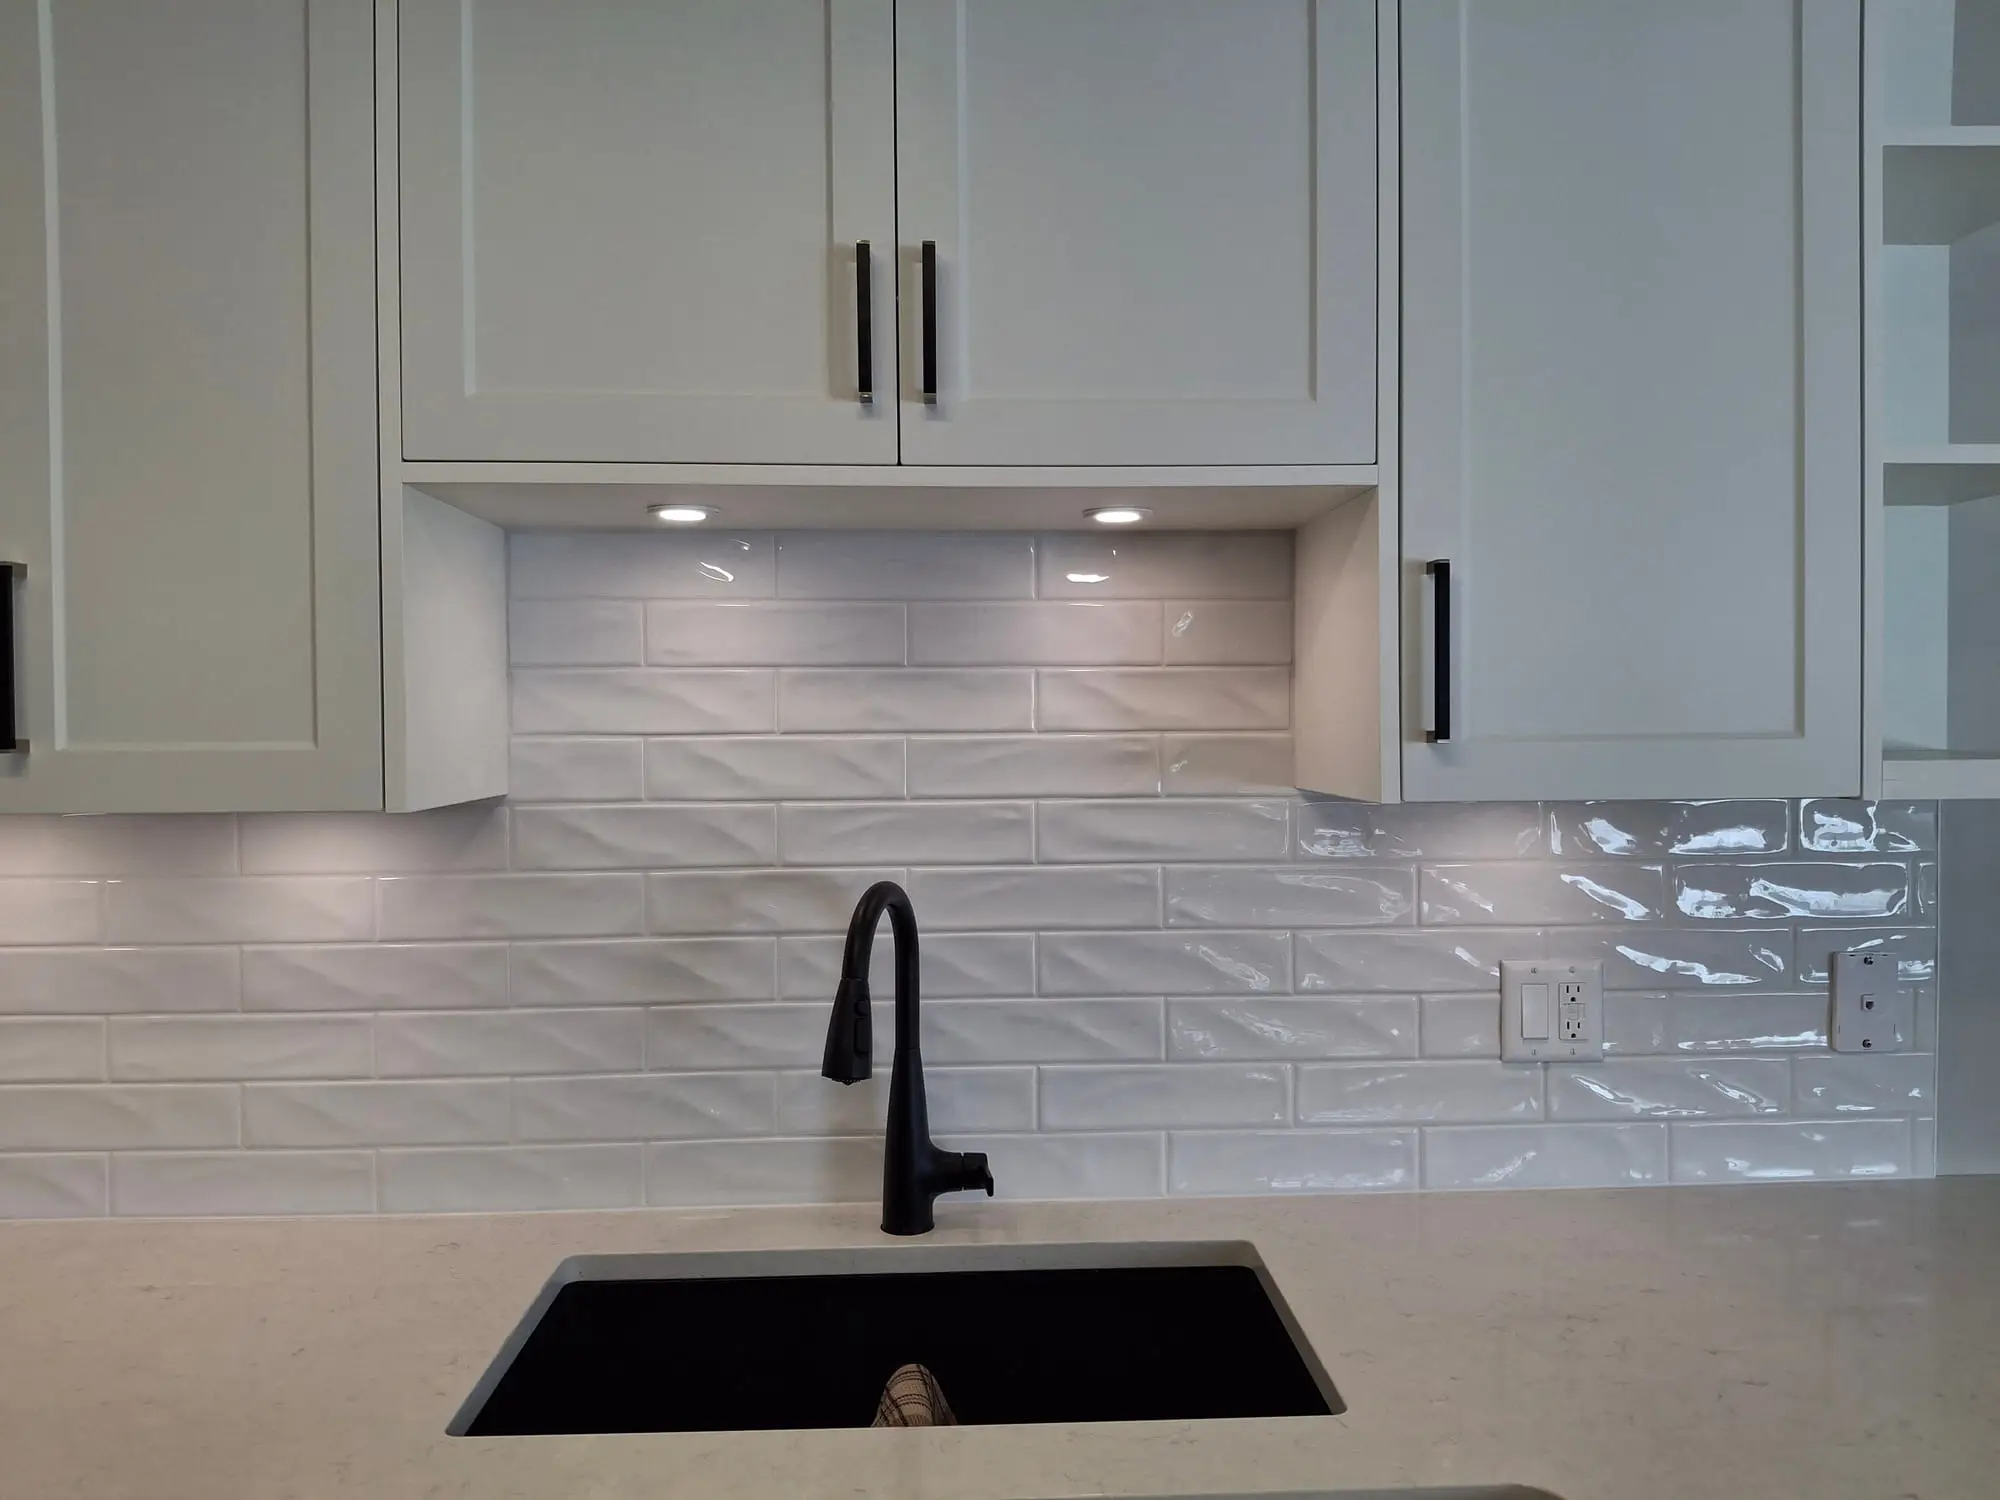
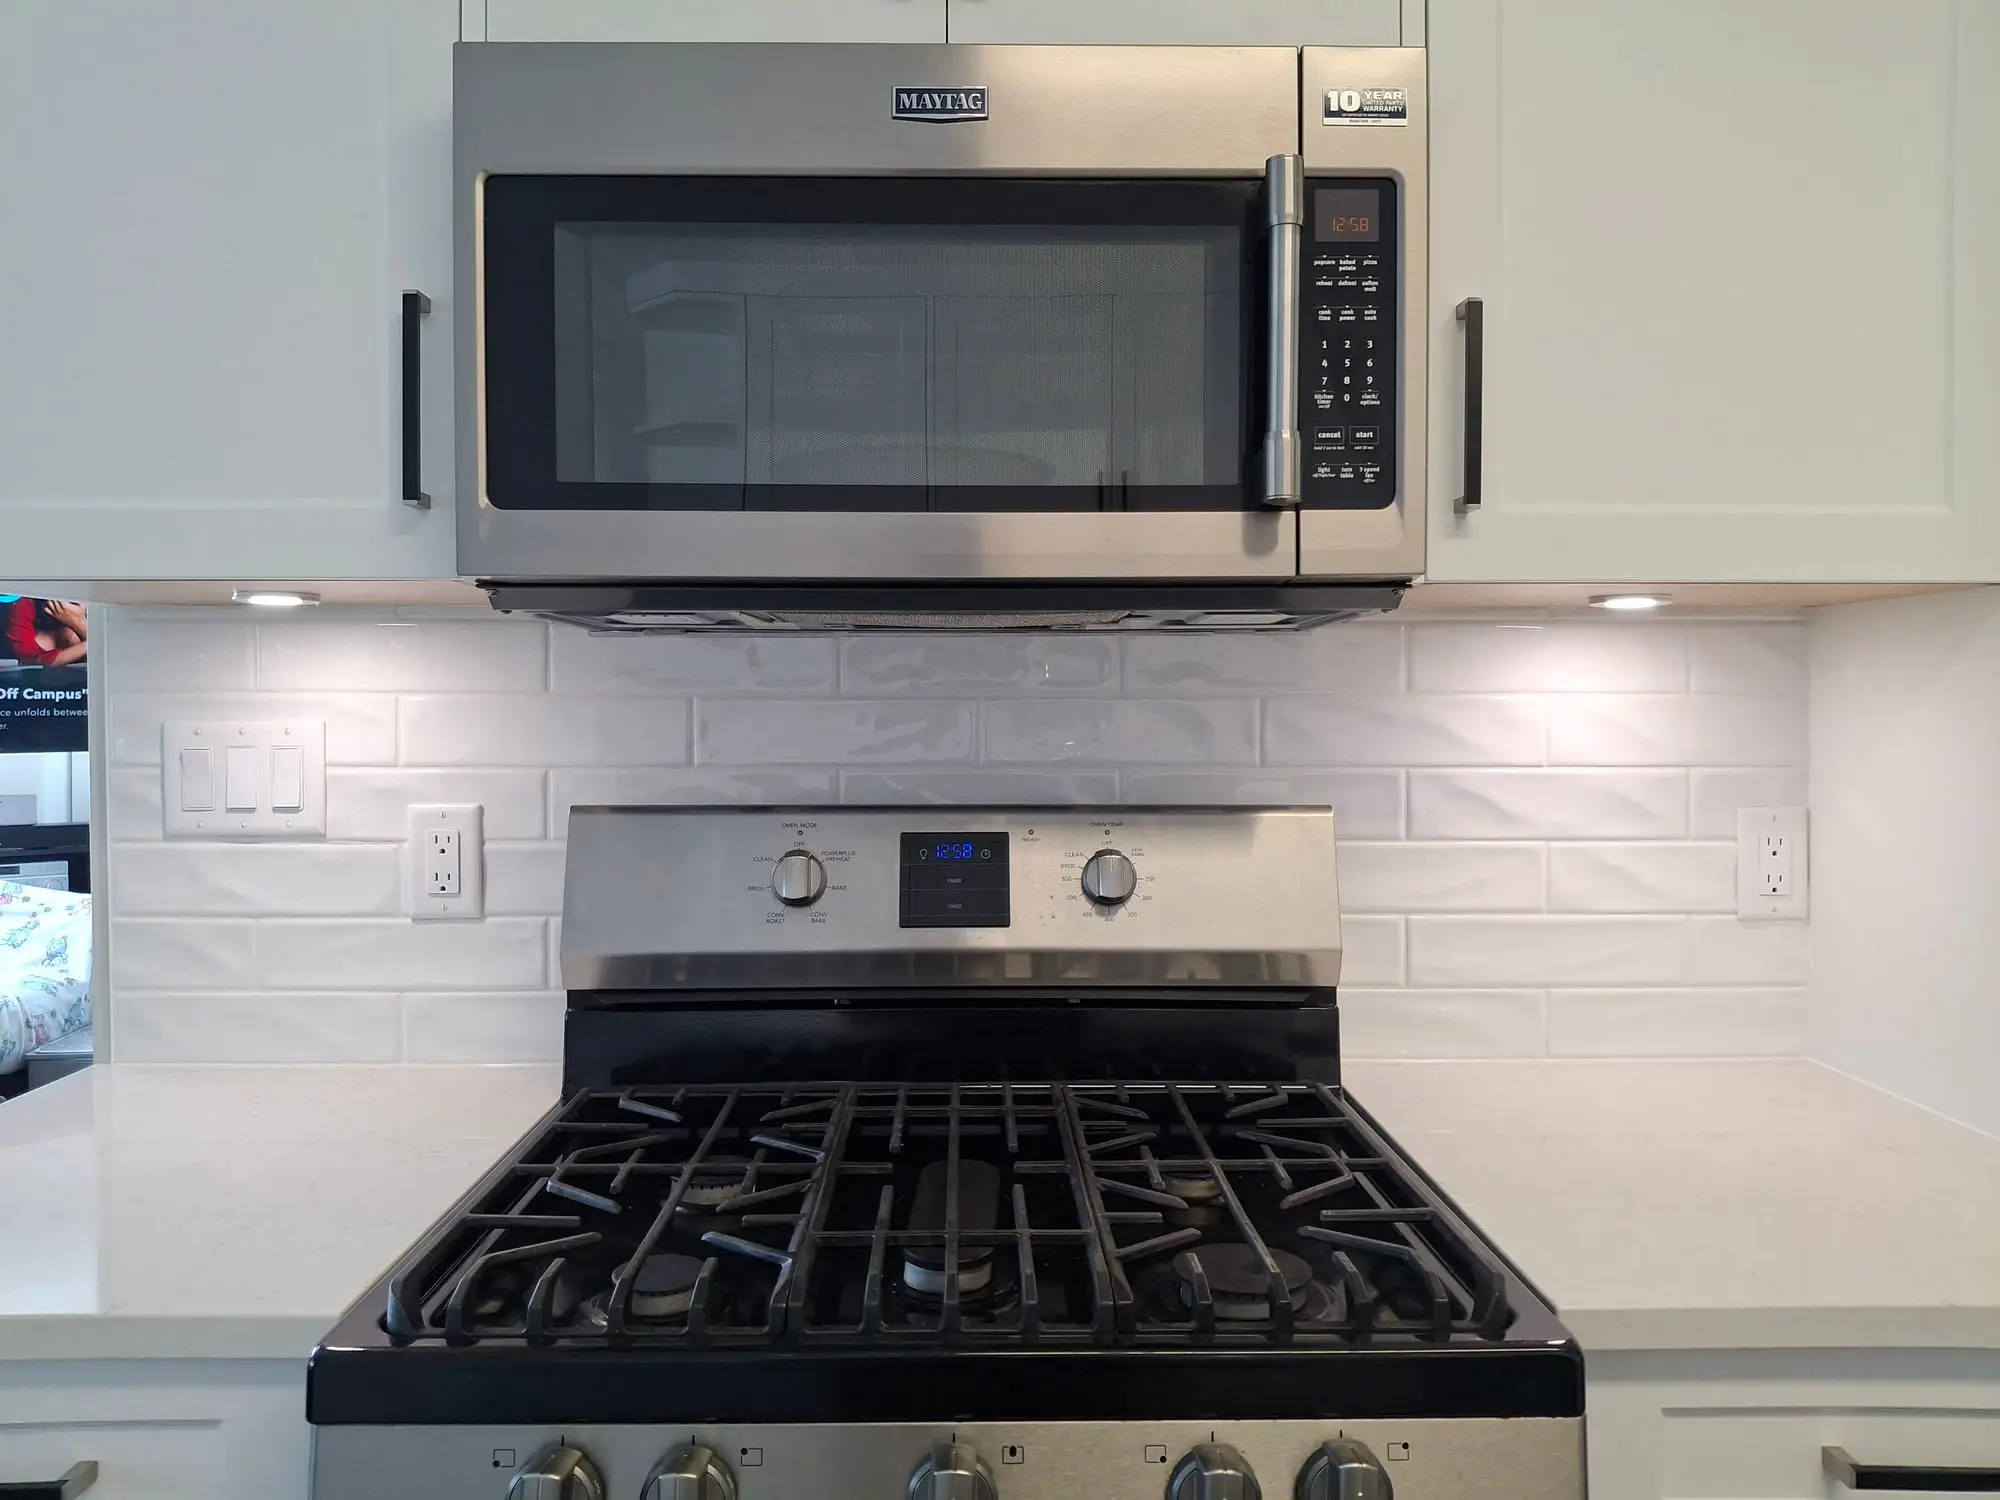
Kitchen Backsplashes
The Detail Work Is The Whole Job.
A backsplash is a small area with a lot of obstacles. Outlets, window returns, upper-cabinet edges and inside corners are where a tidy installation separates itself from a rushed one.
- Layout set out so the pattern lands where it should
- Clean cuts around outlets and switches
- Inside and outside corners finished properly
- Edges and terminations considered before starting
How The Process Works
Four Steps, No Surprises.
- 01
Discuss the project
What the space is, what you have in mind, and roughly how much area is involved.
- 02
Review the space and materials
A look at existing conditions, the substrate and the tile or product being considered.
- 03
Prepare and install
Preparation, waterproofing where it applies, layout, then the tile itself.
- 04
Complete the finishing details
Grout, transitions, edges and a walkthrough of the finished work.
Step By Step
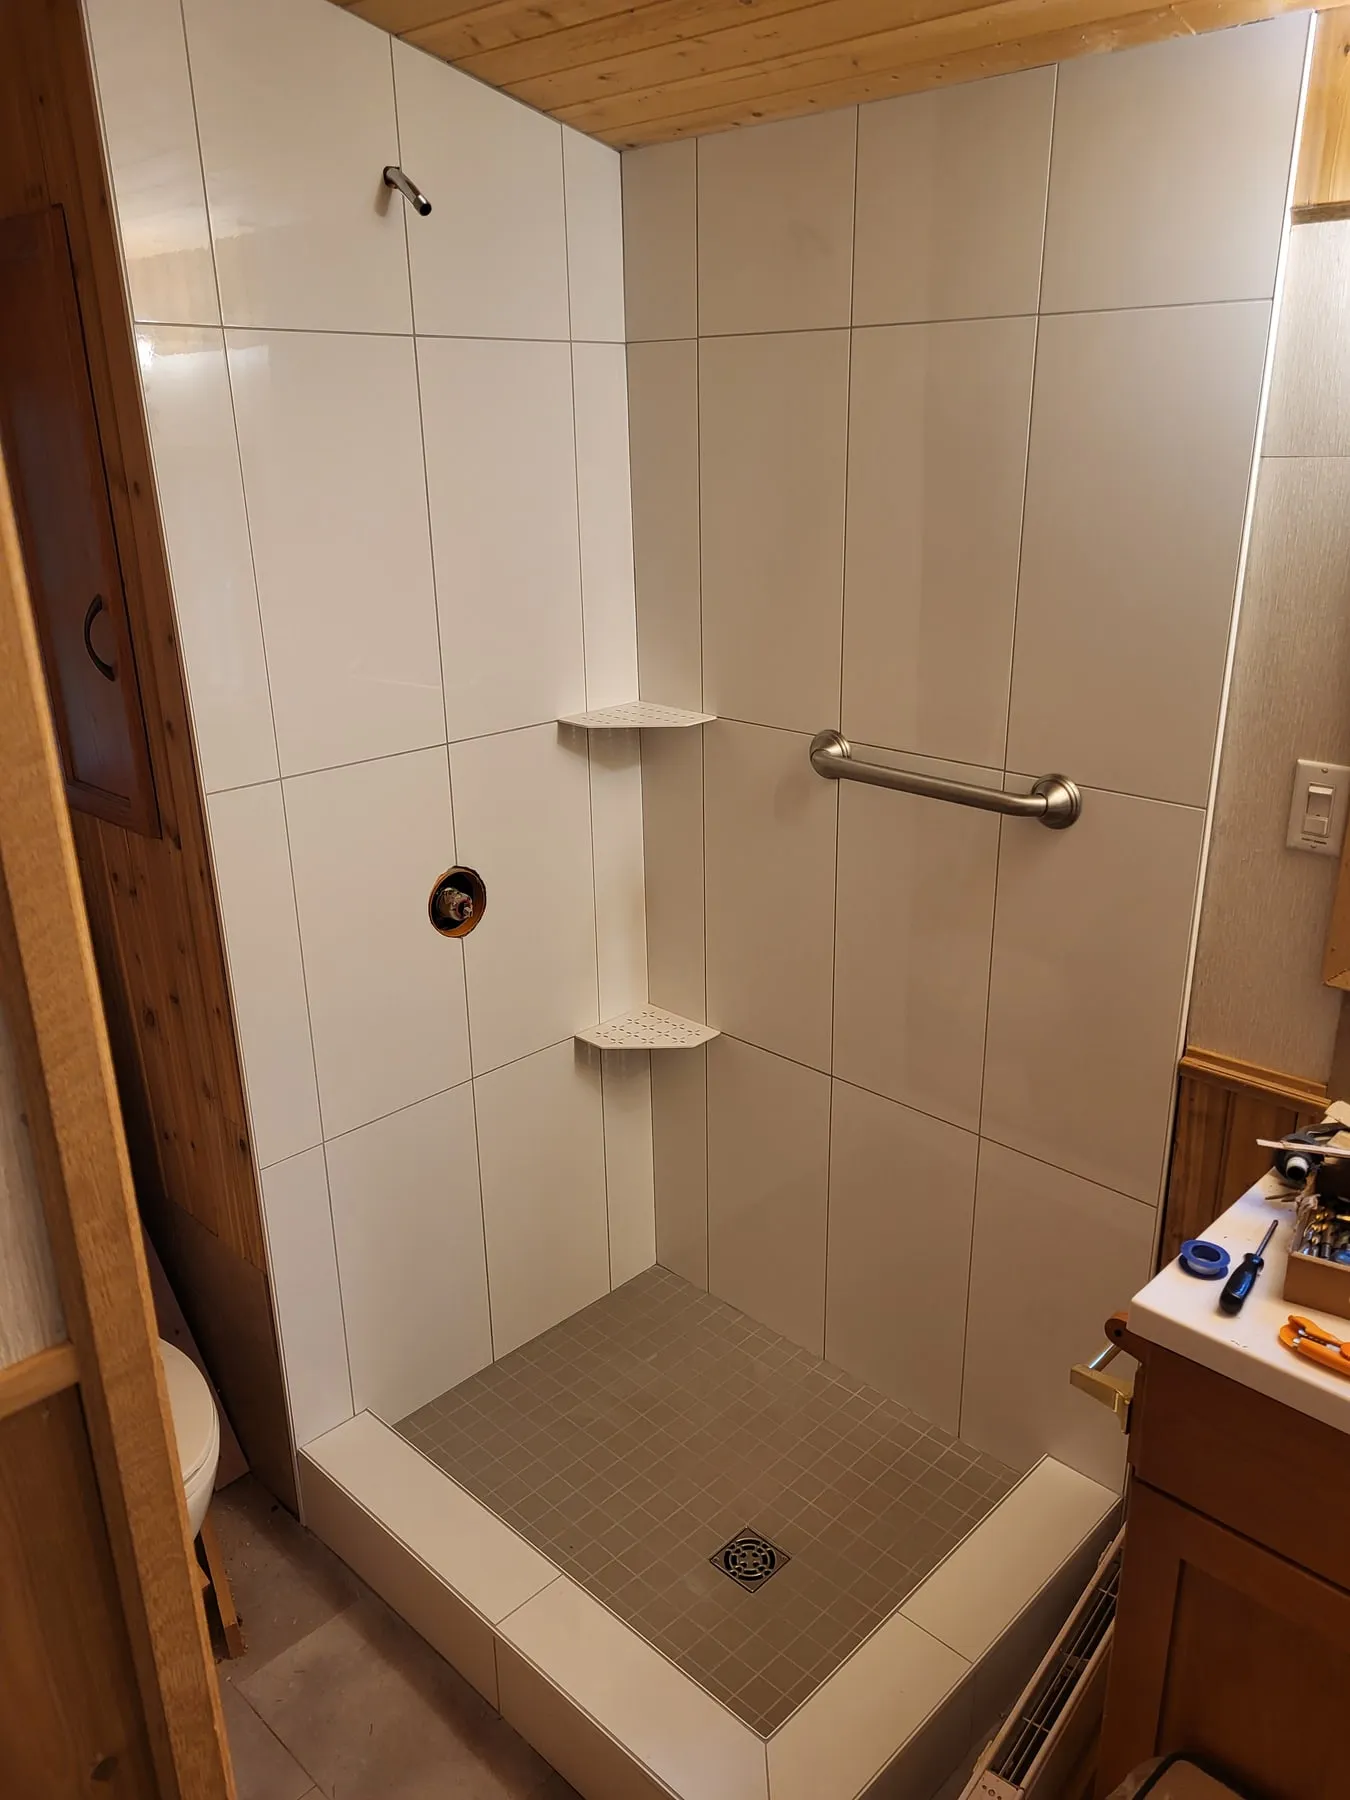
A walk-in shower, rebuilt from the studs out
Most of a tiled shower is buried before the tile goes on. These are the five stages of one rebuild, including the waterproofing layer nobody ever sees again.
Common Questions
Tile & Bathroom Questions
Do you install tile supplied by the homeowner?
In most cases yes — plenty of homeowners choose and buy their own tile. It is worth confirming the specific product before purchasing, since size, format and material affect preparation and installation.
Can you install a heated floor beneath tile?
Yes, electric floor-warming systems can be installed under tile. The system and layout should be discussed early, because it affects the preparation and the build-up of the floor.
Do you handle shower waterproofing?
Yes. Waterproofing is part of a tiled shower installation. Bennett & Sons is a Schluter-Certified Installer and uses Schluter products and methods. The exact approach depends on the shower, the substrate and the plan for the space.
Can you help plan tile layout?
Yes. Layout is worth sorting out before anything is set — where the lines land, how cuts fall at edges and corners, and how the tile meets adjoining surfaces.
What information is needed for an estimate?
The type of tile or flooring, the approximate square footage, the location, photos of the current space, and whether materials have been selected. Anything you already know about the subfloor or previous repairs helps too.
Planning New Floors Or A Tile Project?
Tell us what you are working on and approximately how much space is involved. We’ll help identify the next steps for an accurate estimate.