

Floor Preparation
Floor Levelling And Subfloor Repair
In Port Alberni.
Self-levelling, patching and subfloor correction by Justin Bennett, done before the new floor goes down so the finished surface sits flat and lasts. Based in Port Alberni and working across Vancouver Island.
Preparation
The Part Nobody Sees Decides How The Floor Lasts.
Subfloor condition affects the appearance, feel and longevity of a finished floor. A dip shows through vinyl plank, a high spot rocks under tile, and a loose subfloor squeaks under hardwood. Preparation is correcting all of that first, and it is often the difference between a floor that looks right on day one and one that still does years later.
- Self-levelling compound poured over a primed base
- Patching dips, cracks and low spots
- Planing or sanding down humps and high spots
- Removing old flooring and failed underlayment
- Fasteners and squeaks dealt with before the new floor
What Is Under The Floor
The Layers Nobody Sees.
A new floor is only the top of a stack. Everything below it is preparation, and it is the reason the top layer sits flat and stays that way.
- 1The finished floorVinyl plank, hardwood, laminate or tile: the only layer you see.
- 2UnderlayWhere the product calls for one: cushioning, sound control, a moisture barrier over concrete.
- 3Self-levelling compoundPoured in one pass, it finds its own level and sets flat and hard.
- 4PrimerSelf-leveller on a bare slab does not bond reliably, so the surface is primed first.
- 5Subfloor or slabPlywood, OSB or concrete, checked and repaired before anything goes over it.
How A Floor Gets Prepared
Assess, Remove, Correct, Check.
- 01
Assess the base
Flatness, fasteners, squeaks and moisture are checked against what the new flooring needs.
- 02
Remove what has failed
Old flooring and any underlayment that has lost its bond come out, rather than being covered over.
- 03
Prime
Self-leveller poured onto a bare slab does not bond reliably, so the surface is primed first.
- 04
Level or patch
Self-levelling compound poured in one pass where the whole floor needs it, or patching and planing where only parts do.
- 05
Check, then install
The base is checked flat before the finished floor goes down over it.
Step By Step
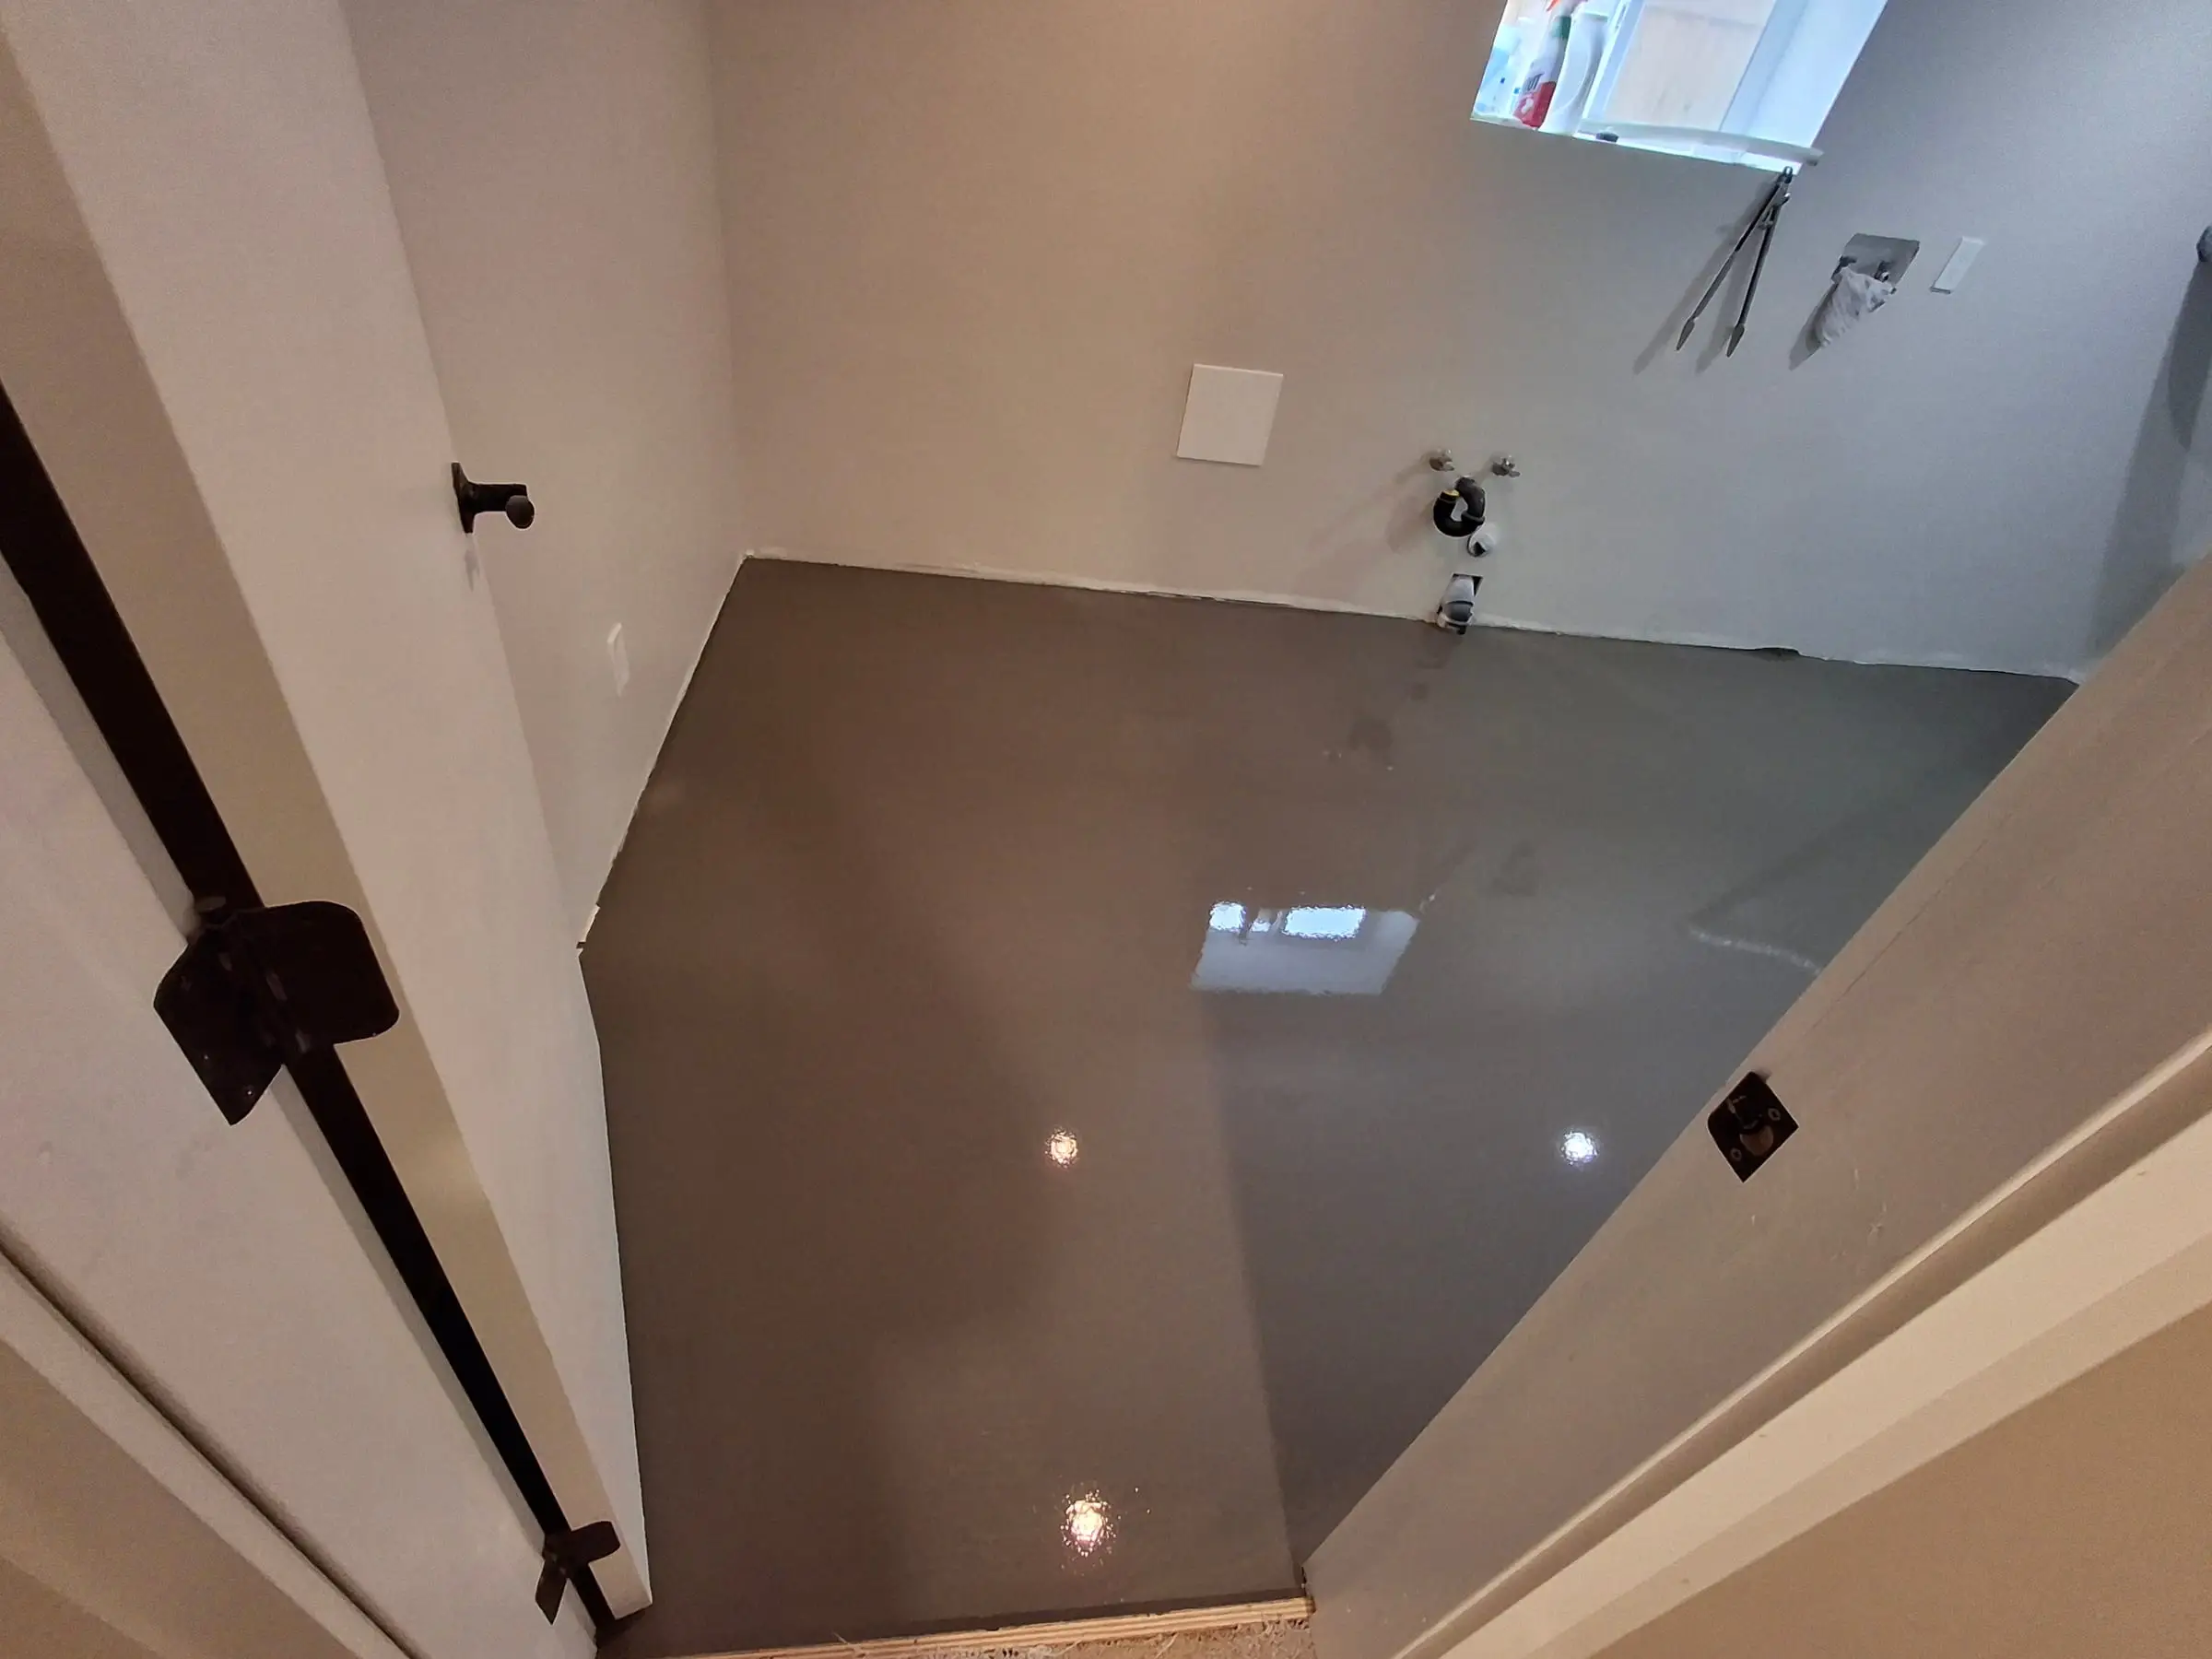
Laundry-Room Floor Restoration
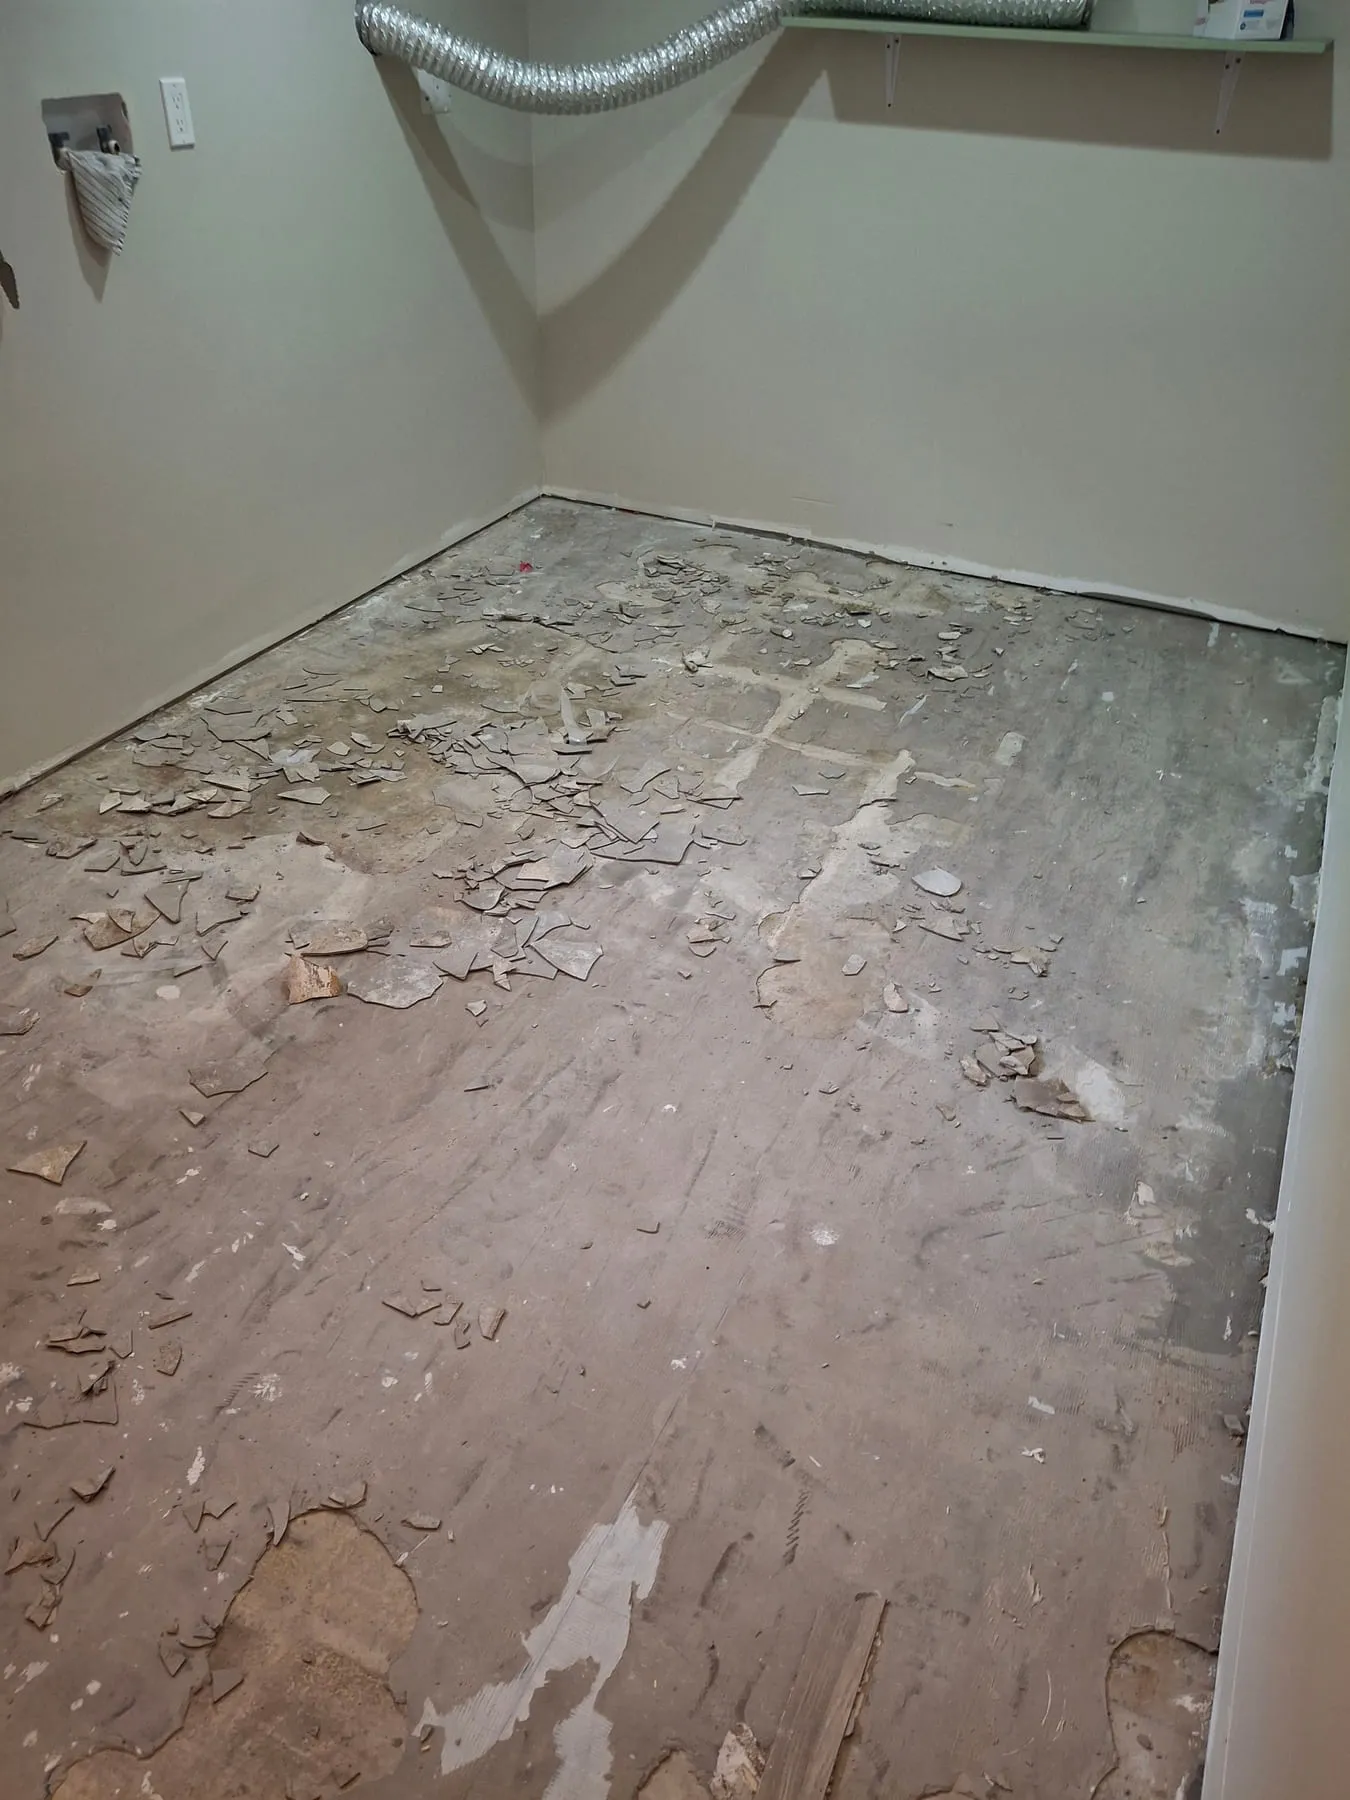
Water had lifted the old self-leveller off the slab. None of this is visible in the finished room, and all of it decides whether the new floor lasts.
Before And After
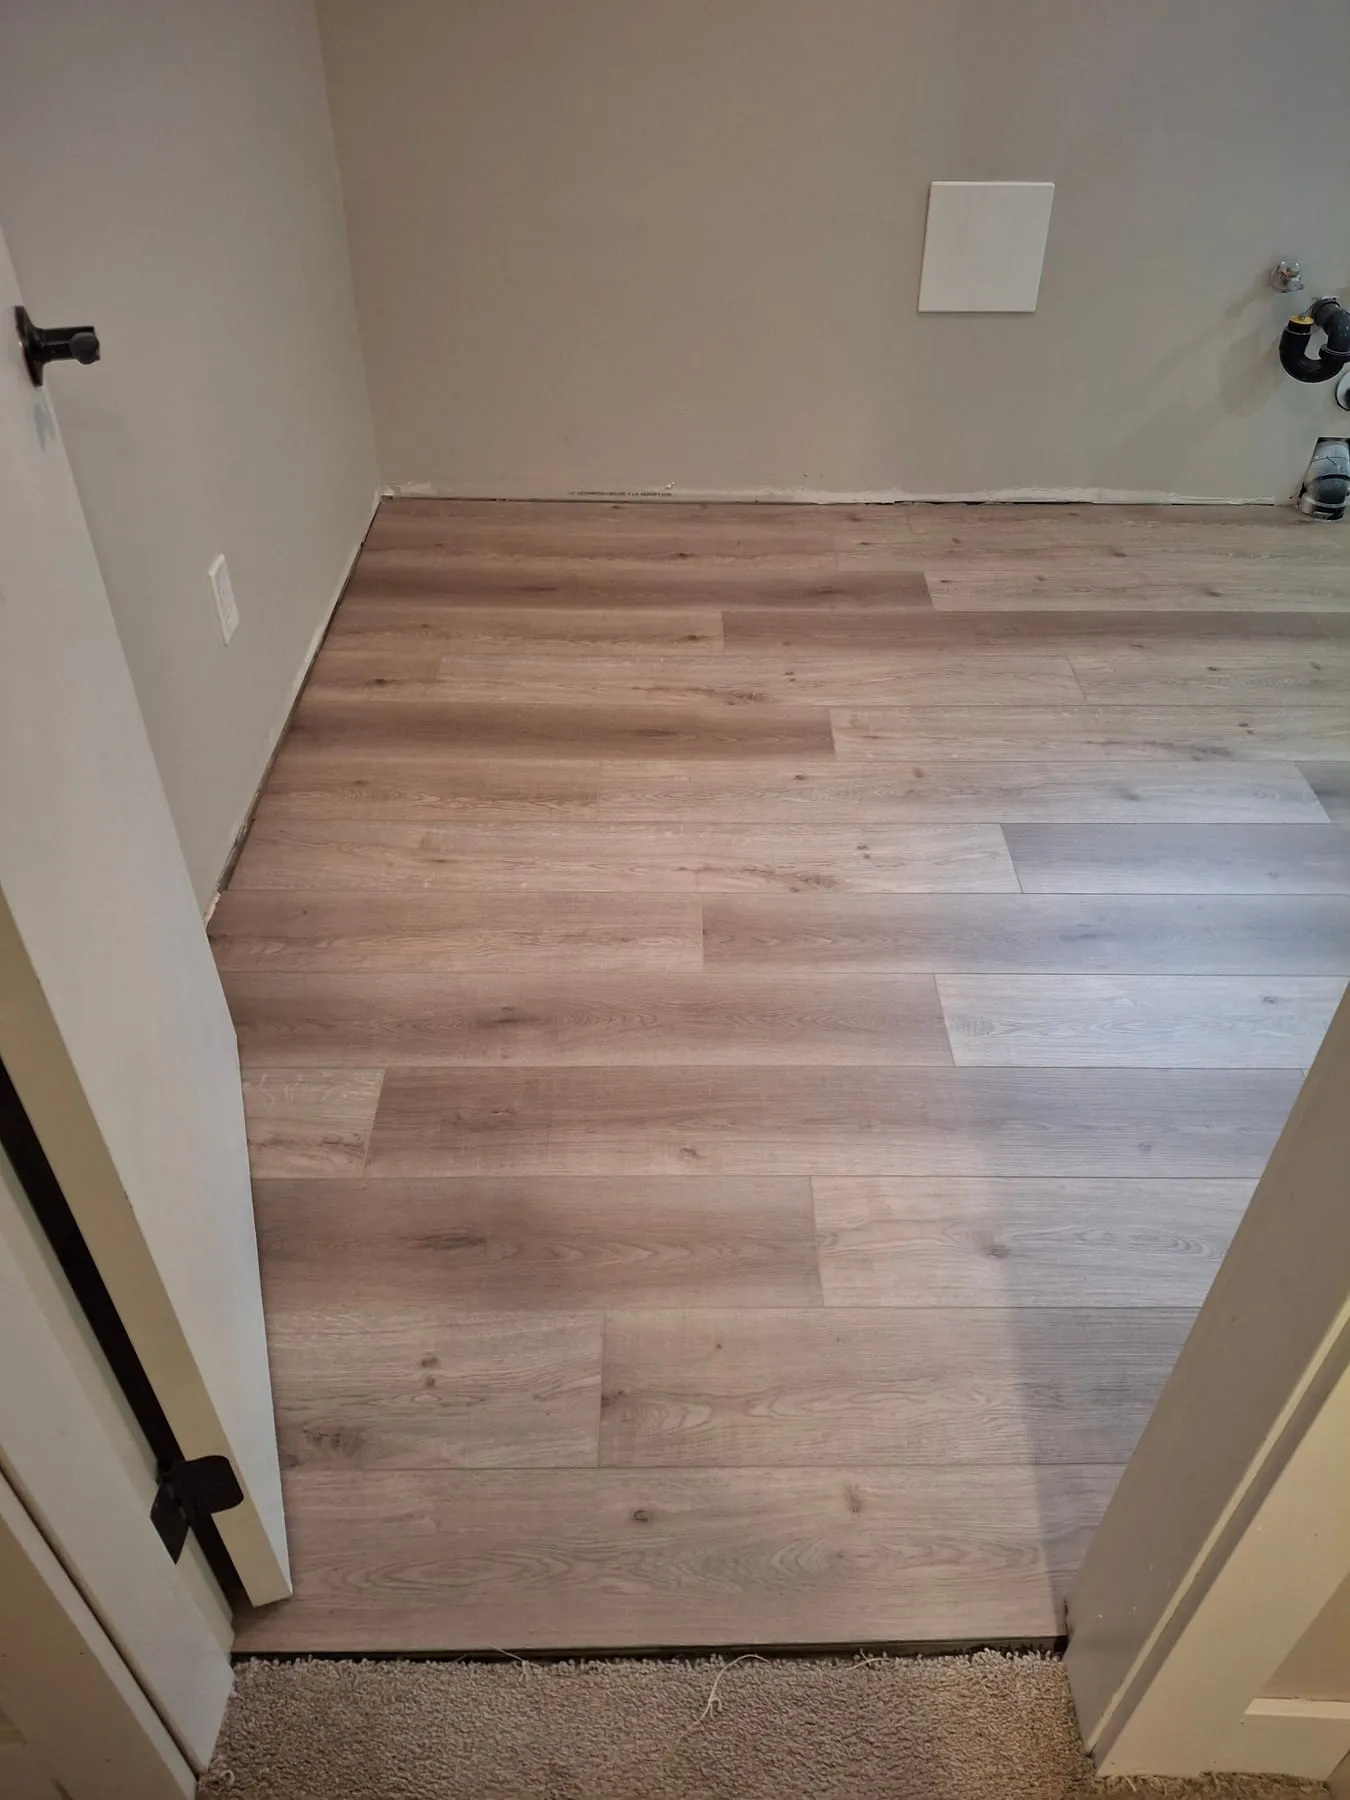
One Laundry Room, Two Days Apart.
The same room at the start and the finish, photographed from opposite doorways. Drag the handle, or use the arrow keys, to compare.
Subfloor Work
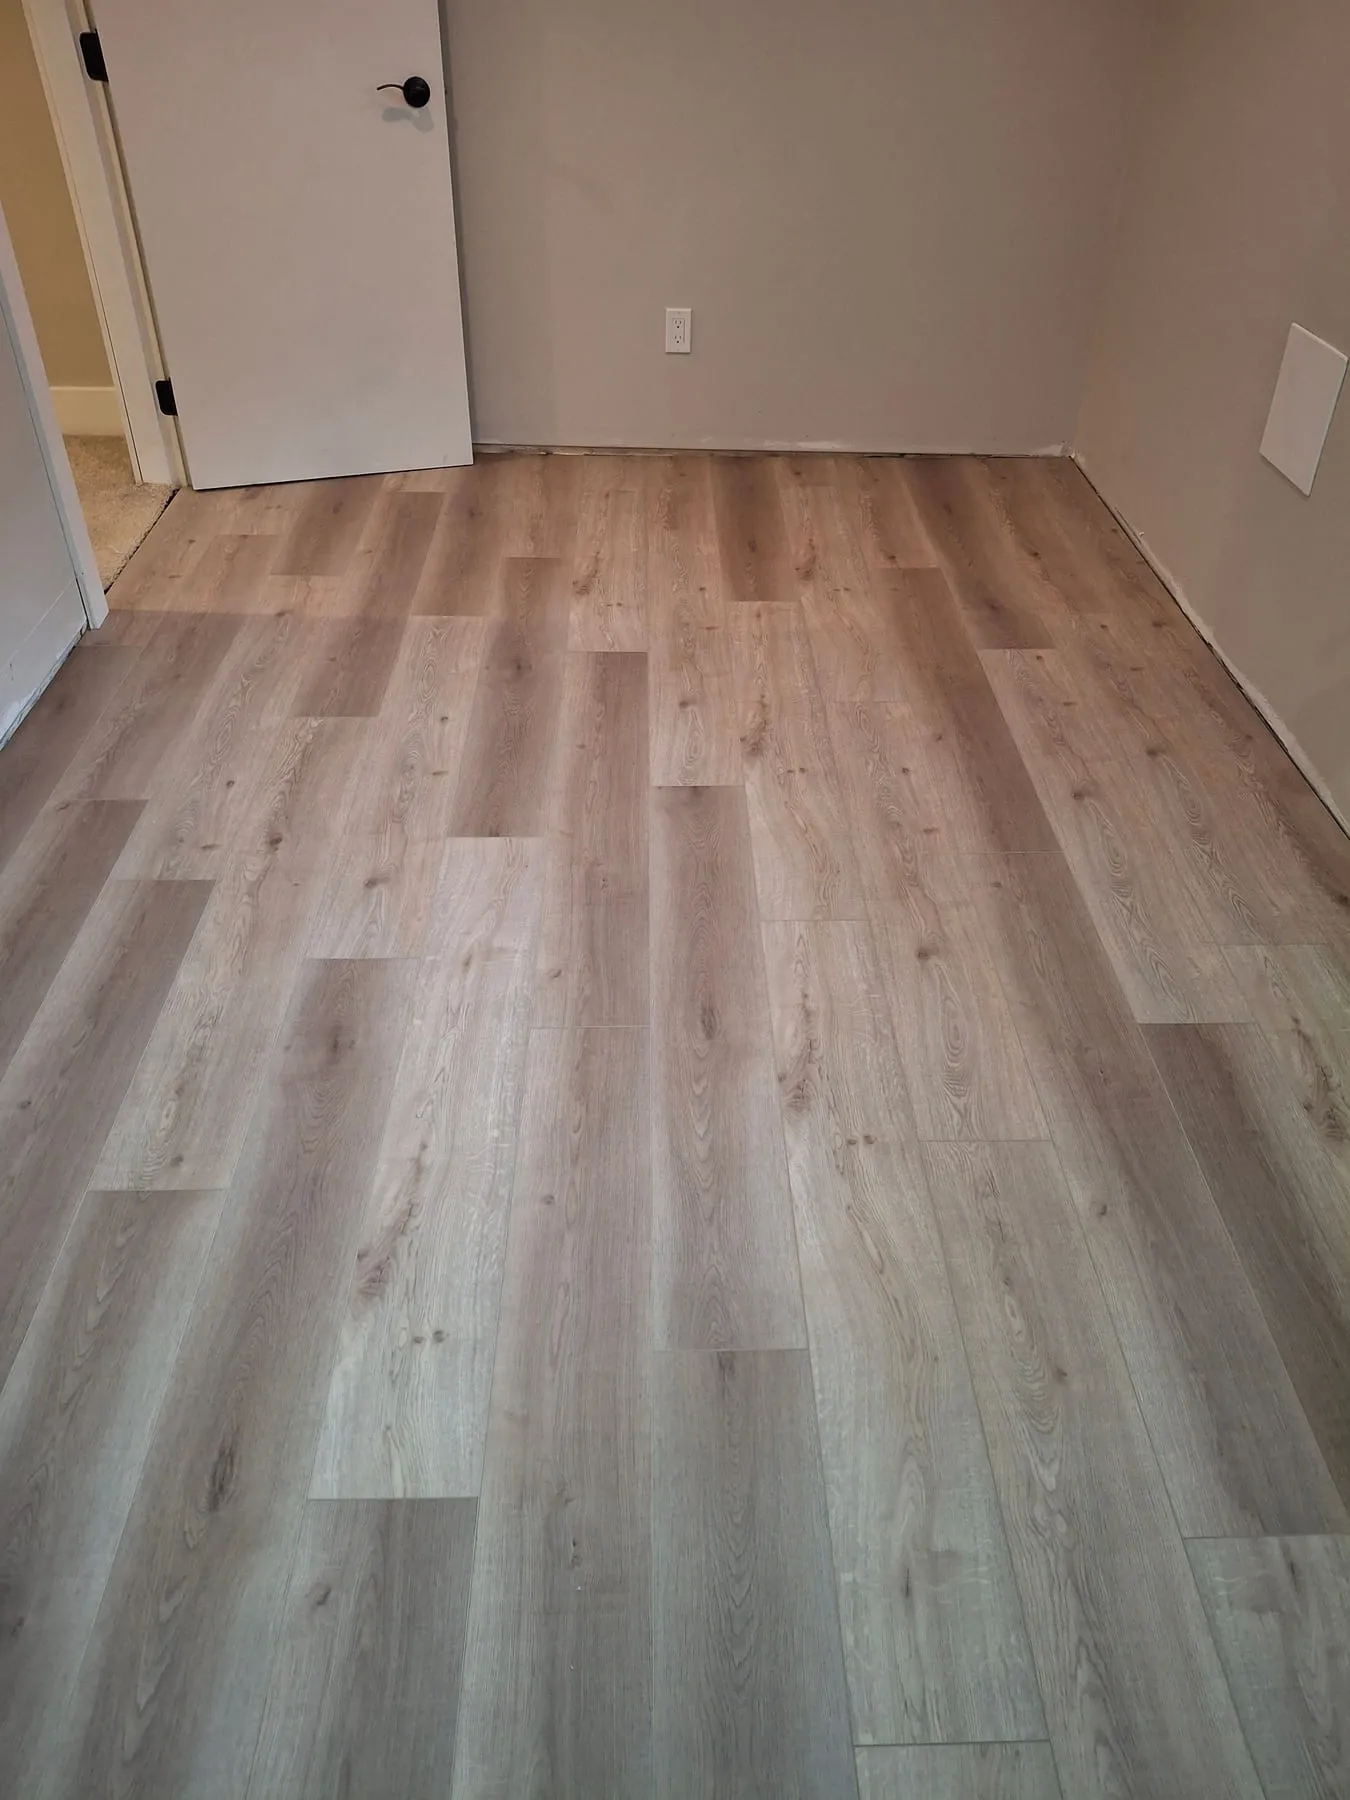
High Spots Taken Down.
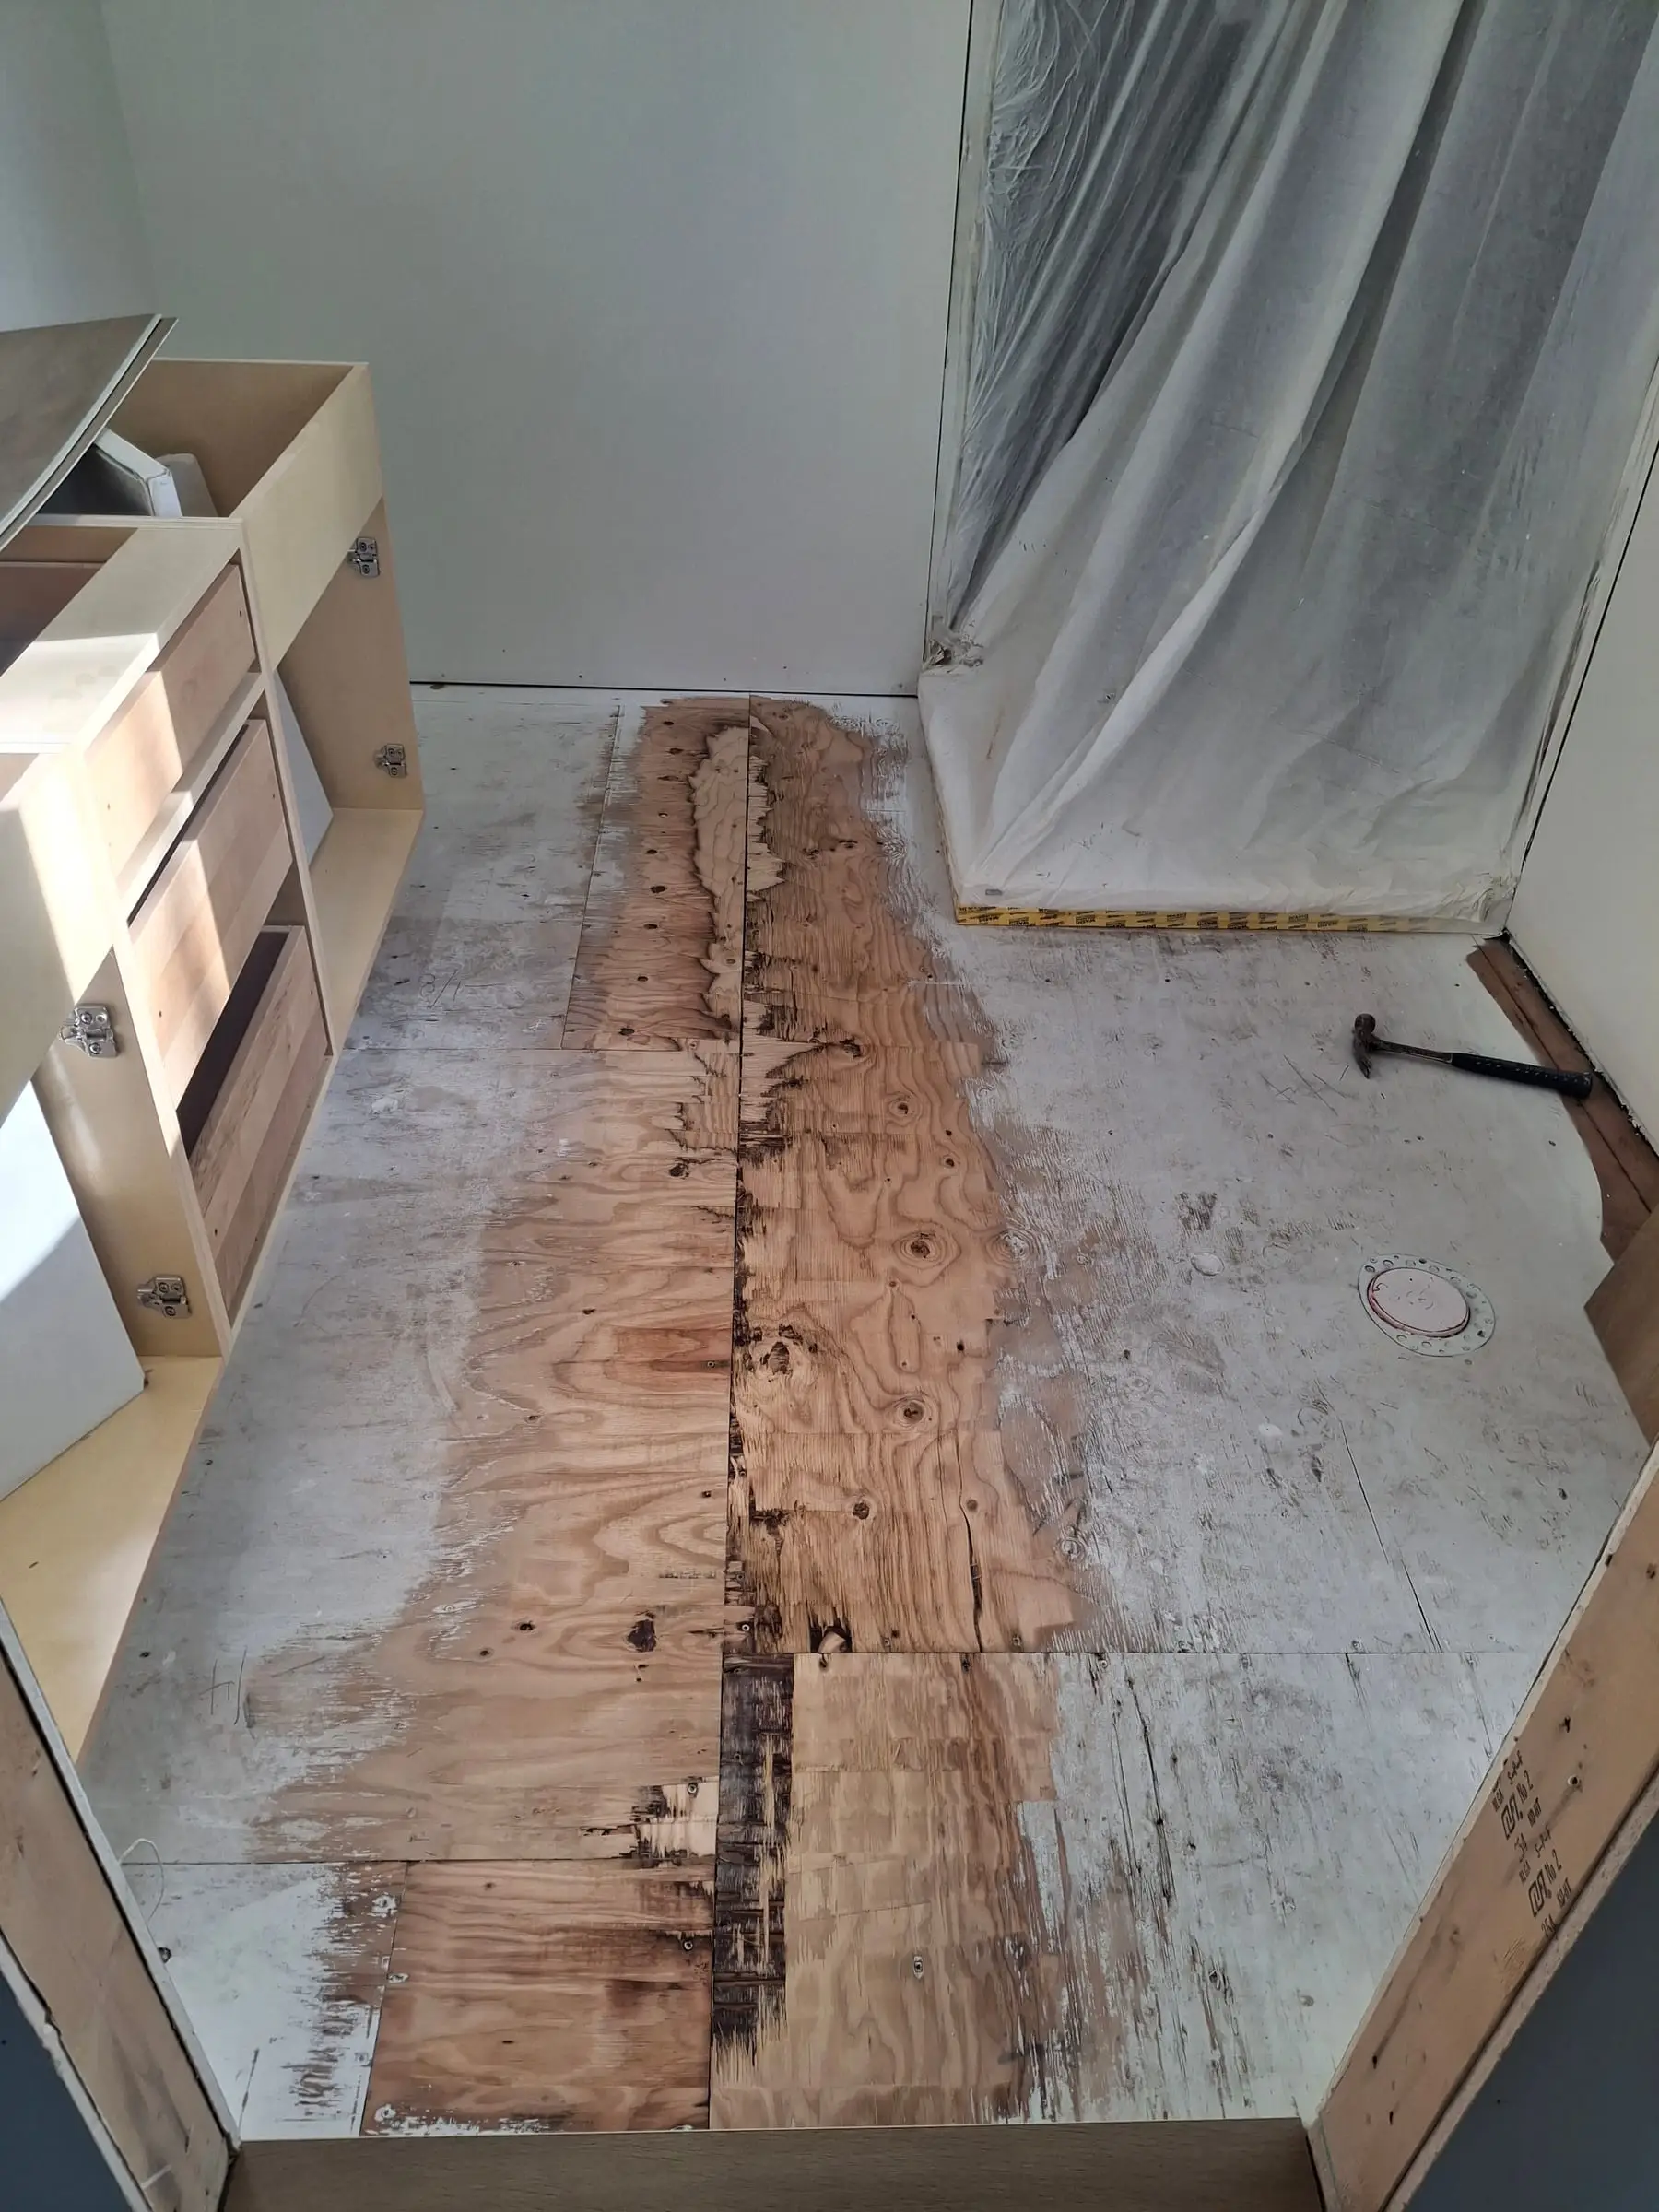
Subfloor correction
Common Questions
Floor Levelling & Prep Questions
What is a subfloor?
The structural layer the finished floor sits on. In most houses that is plywood or OSB sheathing over the floor joists; in basements and many ground floors it is a concrete slab. Whatever the finished floor is, it can only be as flat and solid as the subfloor under it.
Does every floor need levelling?
No. Plenty of subfloors only need patching in a few places, or nothing at all. Whether a floor needs levelling depends on how flat it is and on what is going over it, since tile and vinyl plank are less forgiving than some other products. It is something to confirm by looking at the space.
What is self-levelling compound?
A cement-based mix poured as a liquid that flows out and finds its own level, then sets into a flat, hard surface for the new floor. The floor is primed first so it bonds, and the product and depth depend on how far out the floor is.
Can a wood subfloor be levelled?
Yes, but it needs more care than concrete: the levelling product has to be one made for a wood base, and the subfloor has to be sound and stiff first. Whether self-levelling or patching is the right fix depends on the floor.
Related Work
More From Bennett & Sons.
Hard Surface Flooring
Every kind of hard-surface floor Justin installs, on one page.
Learn moreVinyl Plank
Luxury vinyl plank over a flat, prepared base, for kitchens, entries, laundry rooms and basements.
Learn moreHardwood & Engineered
Solid and engineered hardwood, with the subfloor checked and every transition finished.
Learn moreHeated Floors
Electric floor warming under tile, laid out to suit the room and protected through to the finish.
Learn more
Also in:NanaimoCampbell RiverDuncan
Not Sure What Is Under Your Floor?
Send photos of the space and what is going over it, and Justin will follow up about what the base needs.